How to add photo sharing to your existing wedding website
Embed widgetEmbed widget
Already built your wedding site on Wix, Squarespace, Zola, The Knot, or somewhere else? You don’t need to rebuild anything to collect guest photos. The Wedibox embed widget is a small block of code you paste into your existing site. Guests upload photos and videos right on your page, without a second link, an app, or an account.
Plan: Embed widget · Where: wedibox.com/w/embed/setup
Before you start
- Know where your wedding website lives (Wix, Squarespace, Zola, The Knot, Minted, WithJoy, WordPress.com, Wedsites, or another builder). The setup wizard tailors the instructions to your platform.
- The Free embed plan collects up to 50 uploads at no cost, so you can set everything up and test it before spending anything.
Steps
-
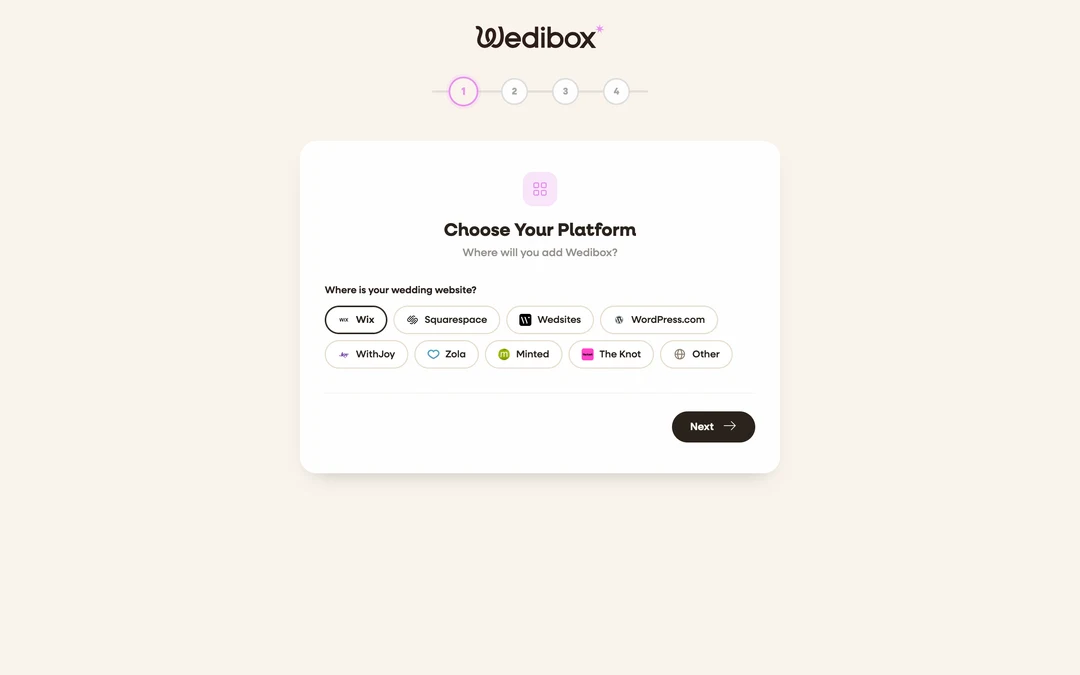
Open the setup wizard. Go to wedibox.com/w/embed/setup. The wizard walks you through four short steps and ends with your code.
-
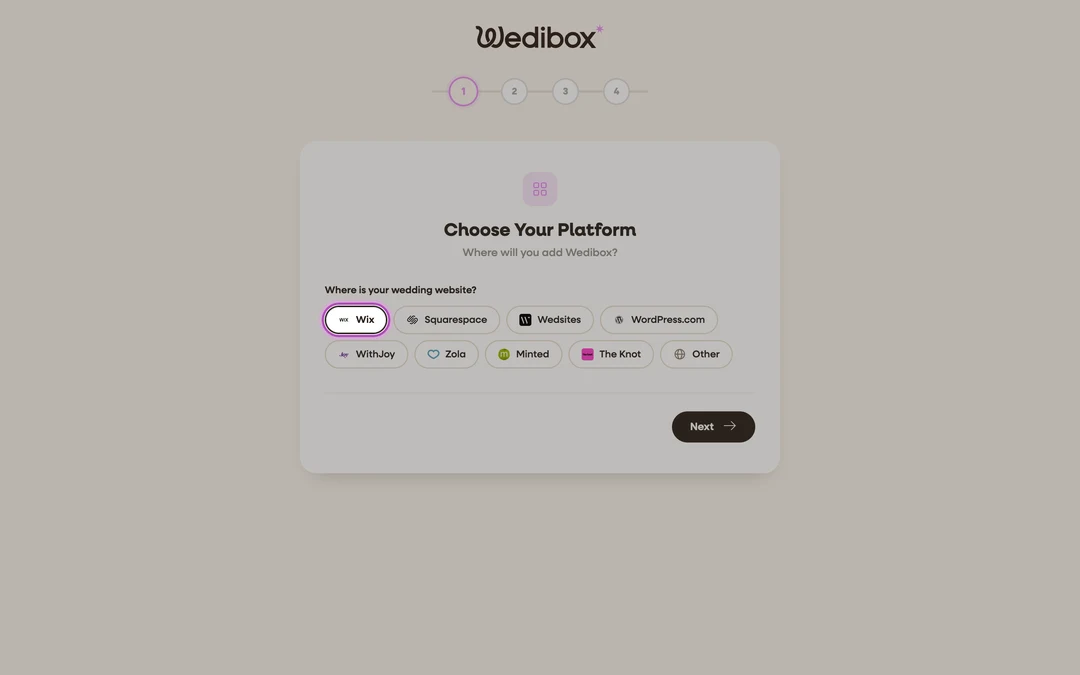
Choose your platform. Under Choose Your Platform, pick the builder your wedding site is hosted on. This decides whether you get an embed code (Wix, Squarespace, Wedsites, WordPress.com) or a shareable photo-page link (Zola, The Knot, Minted, WithJoy: builders that don’t allow custom code). Click Next.
-
Enter your event details. On Event Details, type your event name (for example “Ashley & Jordan’s Wedding”) and pick your event date, then continue.
-
Create a free account. On Create Your Account, sign up so your widget settings and code are saved. No payment is needed: this is what the Free plan is for. Already logged in? The wizard skips this step, and the details button reads Create & Get Code instead.
-
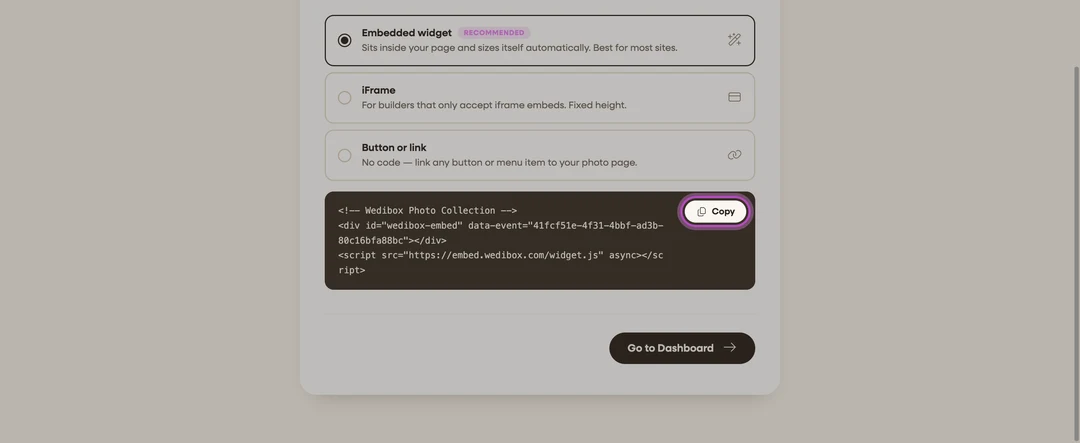
Copy your code. On Add to Your Website, a platform-specific walkthrough shows exactly where the code goes in your editor. Below it, keep Embedded widget selected and click Copy on the code box. The snippet is three short lines with your event ID already filled in. You never need to edit it.
If a script block doesn’t work on your platform, the same screen also offers an iFrame version and a Button or link option that goes to your photo collection page. Wherever you share that link (a chat, a social post, an embed tool such as Canva), it unfurls with a preview card: the Wedibox mark, “Tap here to share your photos”, and your event name and date.
-
Paste it into your website. In your website builder, add a custom HTML/code block where you want photo sharing to appear, paste the snippet, and save or publish. See the platform guides below for exact clicks on each builder.
-
Finish setup. Back in Wedibox, click Go to Dashboard. Your embed dashboard opens with four tabs: Overview, Add to website, Widget, and Plan. This is where you customize the widget (colors, button text, and the Default Language guests see), watch uploads come in, and see which pages the widget is installed on.


What you should see
On your wedding website, a Wedibox upload box appears where you pasted the code. By default it says Share Your Photos. Do a test upload from your phone: your photo shows up in the widget’s gallery and on your dashboard, and the Overview tab’s Active Installations card lists your website once the widget has been viewed there. The widget sizes itself automatically, so there are no scrollbars to fight.
If something goes wrong
- The code shows as plain text on your site. It was pasted into a normal text box. Use your builder’s custom HTML/code element instead (each platform guide shows where it is).
- Your builder rejects the script. Some builders block scripts on lower plans. Use the iFrame version, or link guests to your photo collection page instead.
- You pasted a code that wasn’t set up with an account. The widget shows an Activate Your Photo Widget form right on your site. Fill it in to claim the widget; see Embed plans and claiming your widget.