How to set up online RSVP for your wedding
RSVPAll-in-One plan
Online RSVP replaces reply cards with one form guests fill out from their phone; and every answer lands in a live dashboard instead of a shoebox. You decide exactly what the form asks, and you can change it at any time without reprinting anything.
Plan: All-in-One plan · Where: Sidebar → RSVP (under “Your guests”)
Before you start
- You can build your form and guest list on any plan; nothing is lost. Guests can only open and submit the RSVP once your event is on the All-in-One plan; until then the page shows an “Editor mode” banner with an Unlock for guests link.
- Know roughly what you want to ask. Every extra field costs a few completed replies.
Steps
-
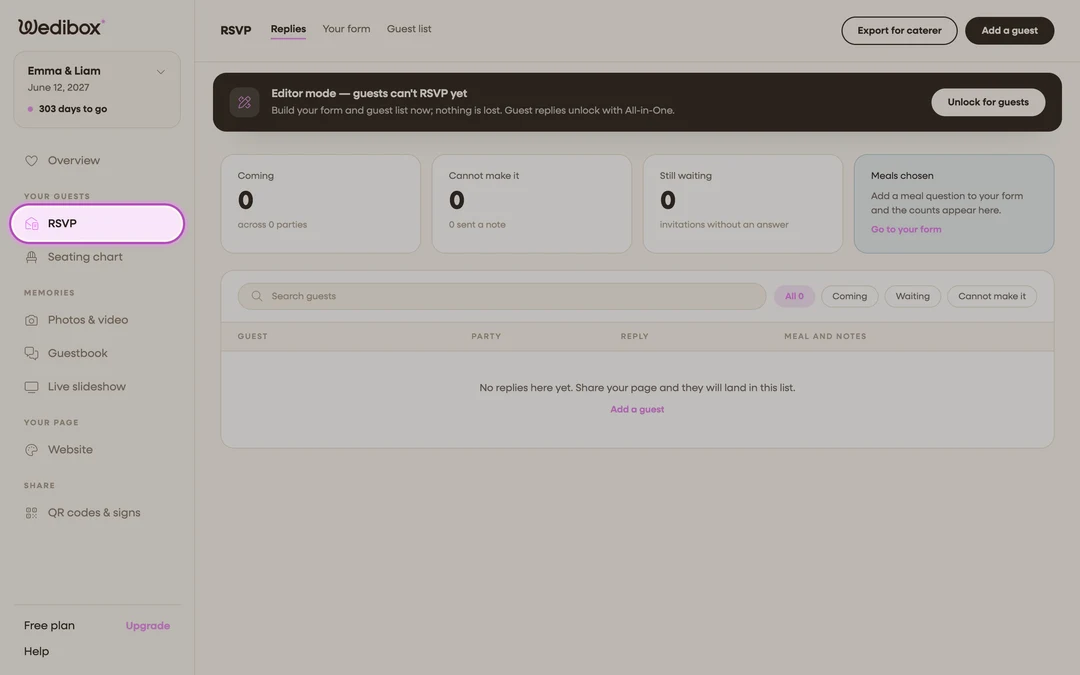
Open the RSVP page. In the sidebar, click RSVP (under “Your guests”). You land on the Replies tab; empty for now, soon your favorite page.
-
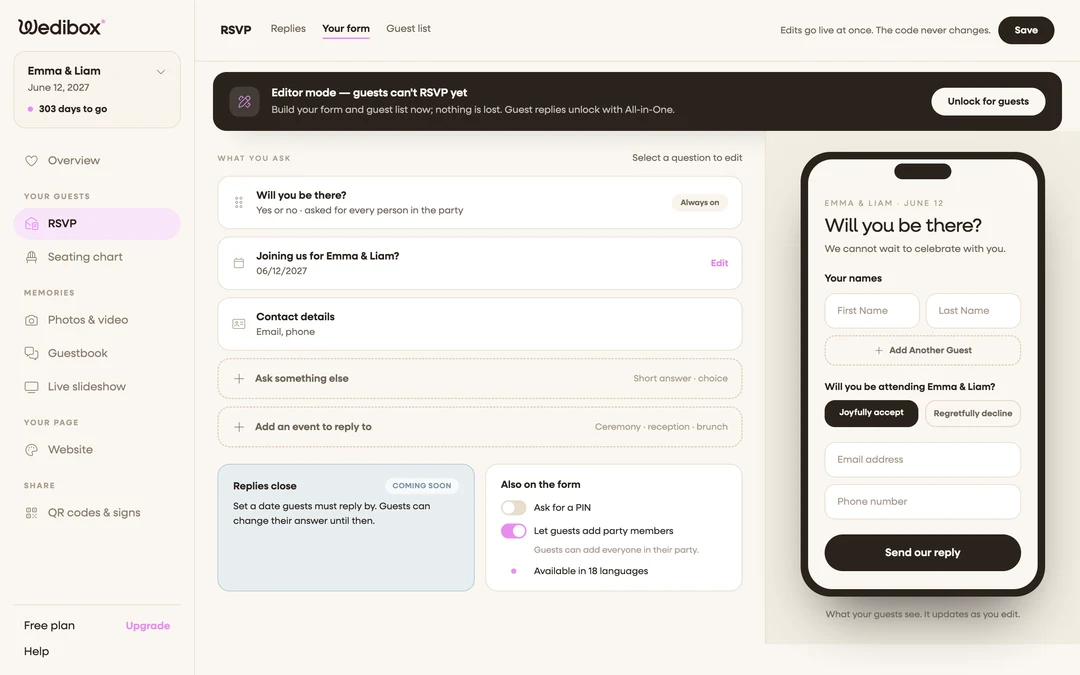
Switch to the Your form tab. The left side lists everything your form asks; the right side is a phone preview of what guests see, and it updates as you edit.
-
Attendance is already there. The first card, “Will you be there?”, is marked Always on. Every person in a party answers yes or no. You never have to build this part.
-
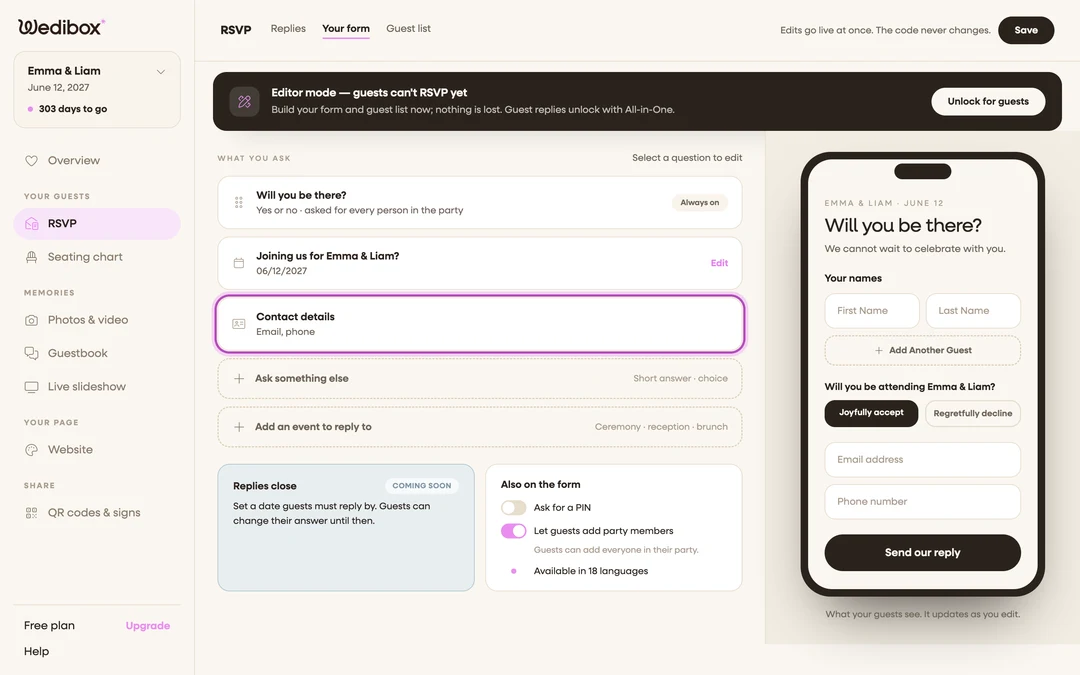
Choose which contact details to collect. Click the Contact details card and flip the toggles: Email address (so you can write back), Phone number, and a mailing-address question for thank-you cards. Only ask for what you’ll actually use.
-
Decide on plus ones. In the Also on the form card, the toggle Let guests add party members controls whether guests can add people to their reply. Leave it on for the classic “and guest” invitation; turn it off if each guest should reply only for themselves.
-
Add anything extra. Two buttons sit at the bottom of the question list: Ask something else for custom questions like meals, and Add an event to reply to for a ceremony/reception/brunch schedule.
-
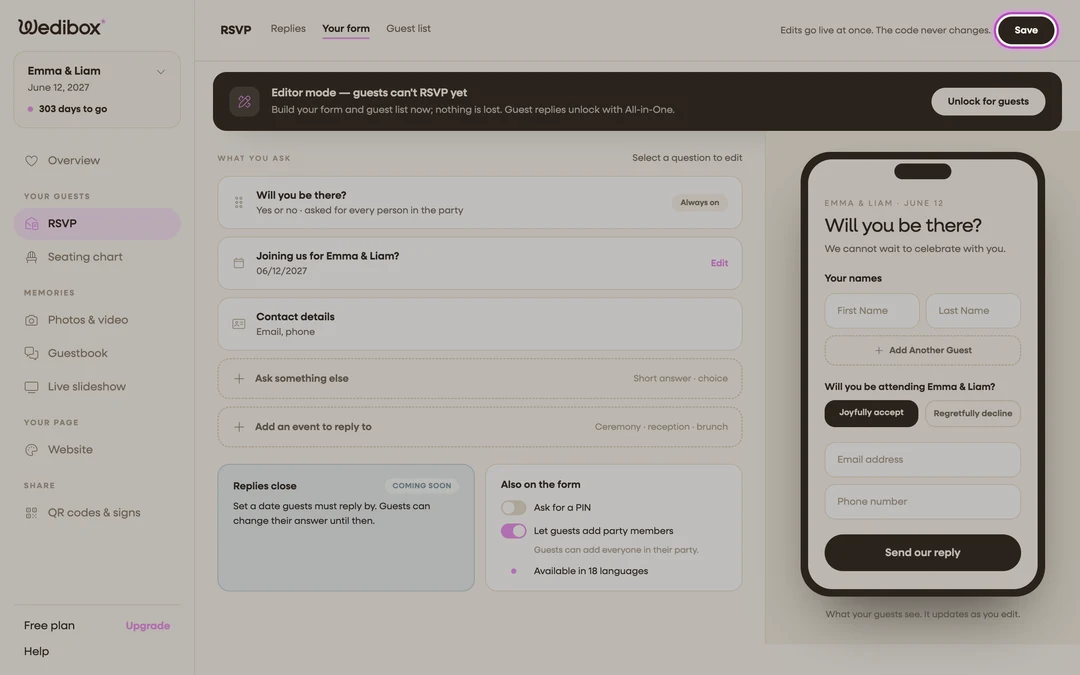
Click Save. The button sits at the top right; you’ll see “Saved. Your form is live.” Edits go live at once, and your link and QR code never change.
-
Put RSVP on your wedding page. In the sidebar, click Website (under “Your page”), find the RSVP tile under “Guest Interactions”, and flip its switch on. This adds an RSVP button to the top of your page.
-
Grab the link. On the Overview page, the “Your one code” card has a dropdown ; pick RSVP only for a QR code and link that open just the form.
What you should see
Your wedding page now shows an RSVP button, and opening it walks guests through a short step-by-step form: names, contact details, attendance, your questions, then a review screen. Submit a test reply yourself; it appears on the Replies tab within seconds, and you can delete it afterward from its detail view.
If something goes wrong
- Guests see “The couple has not turned this on yet.”. The RSVP tile is switched off in the Website editor, or your event isn’t on All-in-One yet.
- The RSVP page shows “Editor mode; guests can’t RSVP yet.”. Everything you build is saved, but replies unlock with the All-in-One plan. Click Unlock for guests.