How to add and arrange tables
Seating chartAll-in-One plan
Tables are the bones of your seating chart. Wedibox gives you three shapes (round, long, and a head table with all chairs on one side) and lets you drag them around a canvas until the layout matches your actual room. A chart that looks like the venue is one guests (and your caterer) can actually use.
Plan: All-in-One plan · Where: Sidebar → Seating chart
Before you start
- Create a chart first. The Add a table button appears once a chart exists.
- Arranging tables on the canvas is desktop-only. On a phone, a banner reminds you that “Moving tables around is easier on a laptop”; everything else still works from the mobile table list.
Steps
-
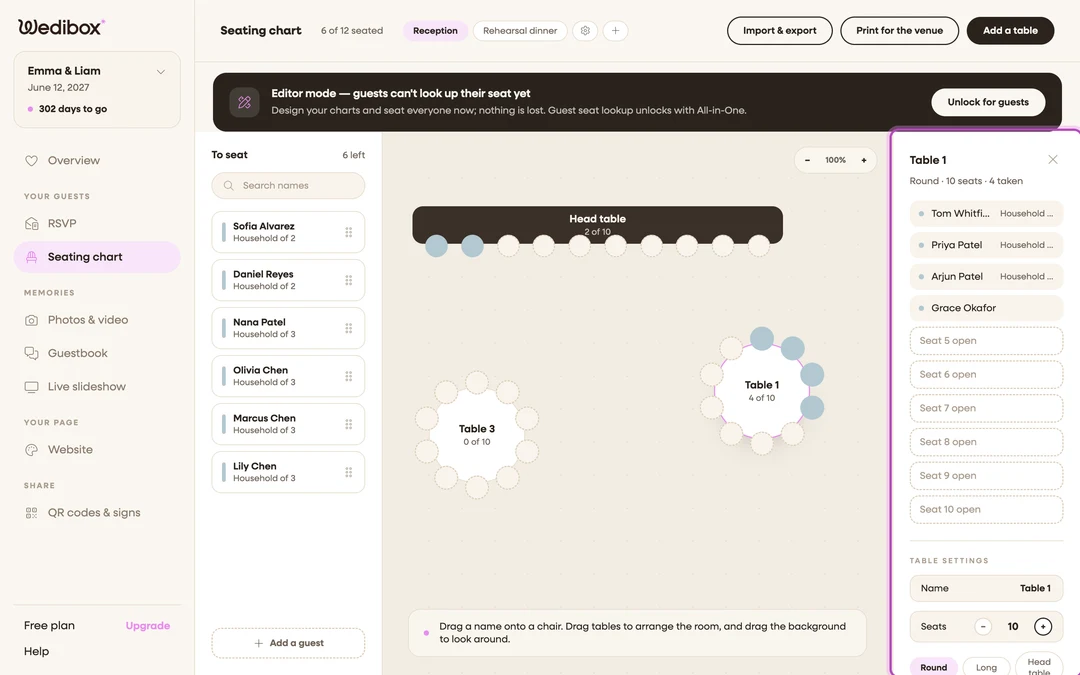
Add a table. Click Add a table in the top-right. A round 8-seat table drops near the center of your view, named automatically (“Table 1”, “Table 2”, …), and its settings panel opens on the right.
-
Name it. Under Table settings, type the real name in Name: “Family”, “College friends”, whatever will make sense to guests. Guests see this name when they look up their seat.
-
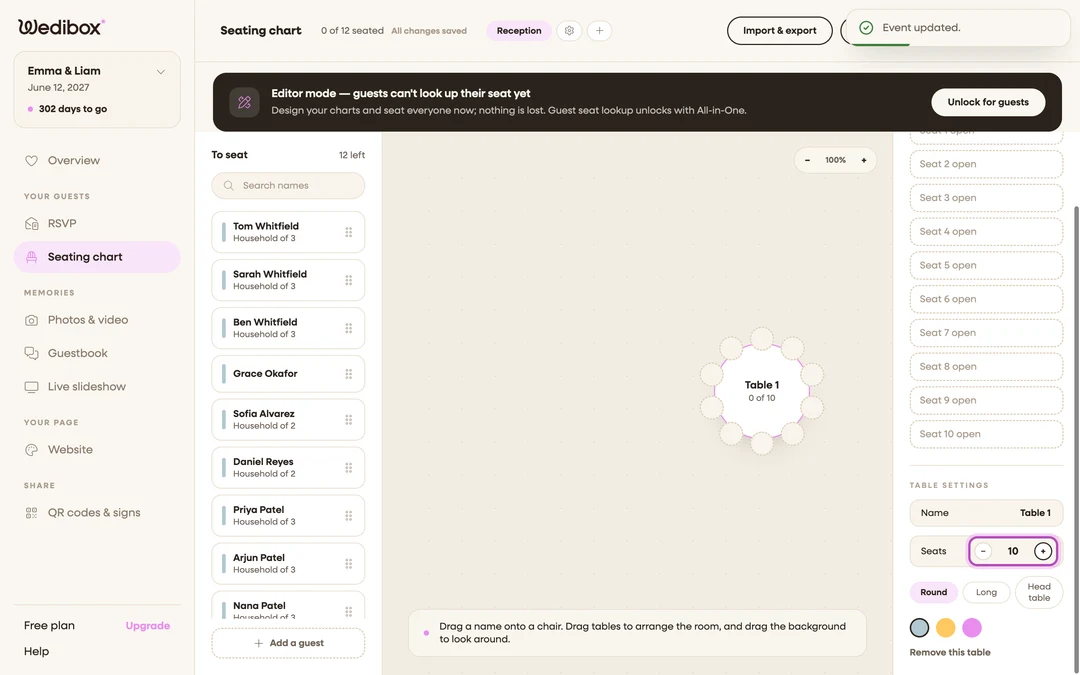
Set the seat count. Use the Seats stepper (or type a number) to match the venue’s chairs: anywhere from 1 to 40 per table. Chairs redraw around the table as you change it.
-
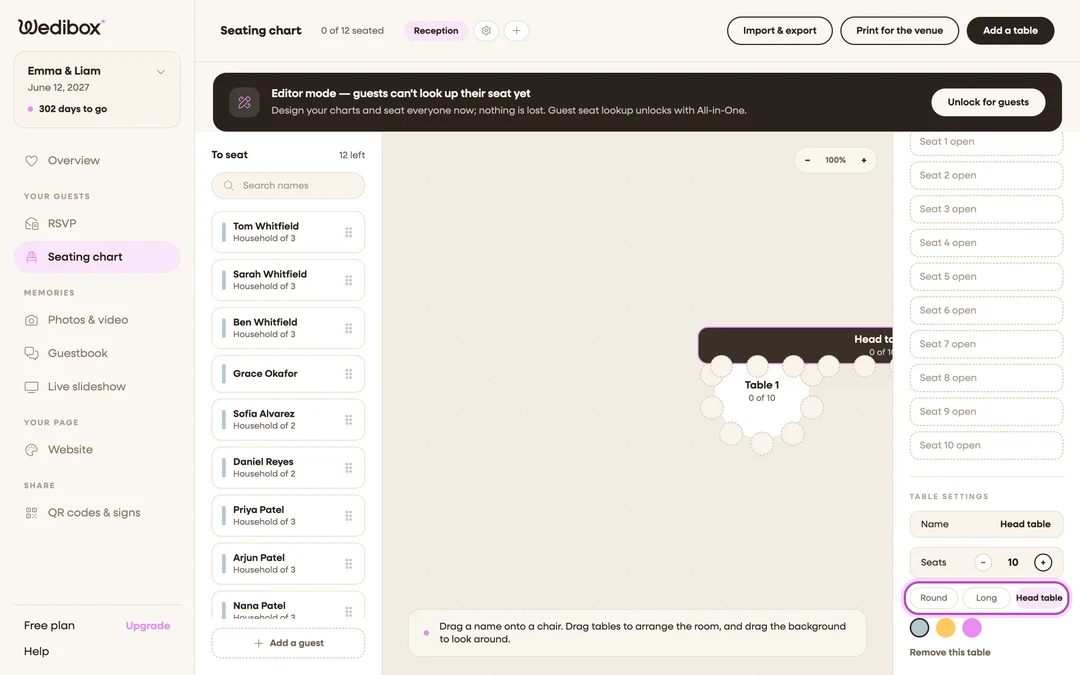
Pick the shape. Click Round, Long, or Head table. Head table puts every chair on one side. That’s the one for a sweetheart or top table that faces the room.
-
Choose a chair color. Click one of the color swatches. Color is purely visual. Use it to tell dinner tables from the kids’ table, or just to match your palette.
-
Drag tables into place. Drag any table to move it. Drag the empty background to pan around the room, and use the − / + zoom controls (click the percentage to reset the view). Lay tables out the way the venue floor plan reads.
-
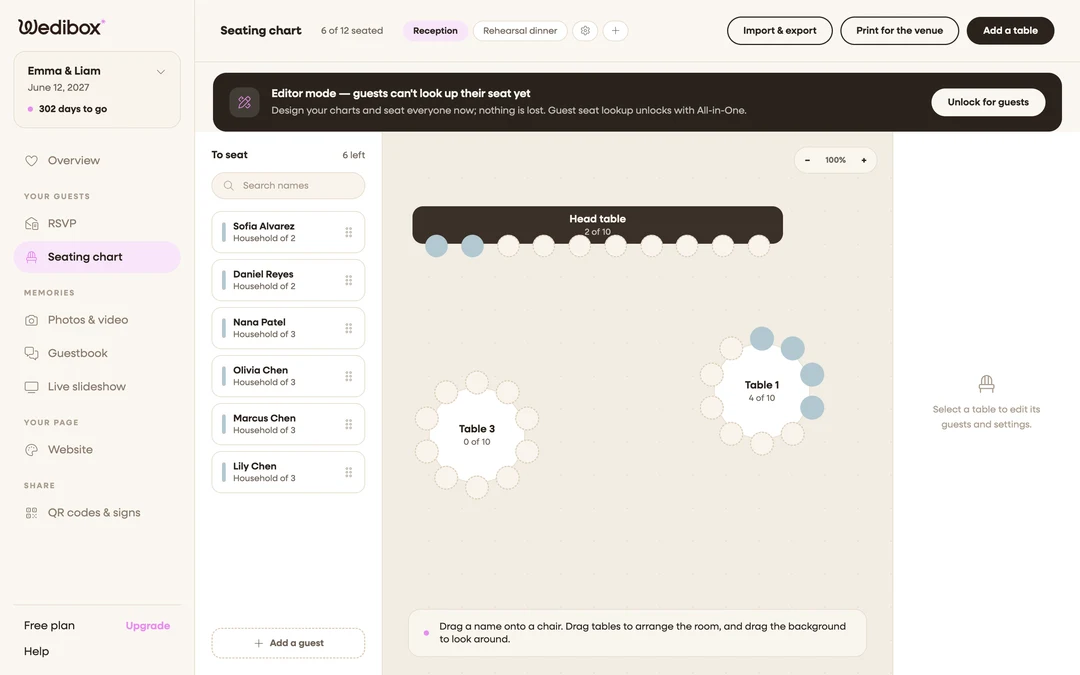
Remove a table you don’t need. With the table selected, click Remove this table, then click again when it asks you to confirm. Any guests seated there go back to the To seat list. Nobody is lost.
What you should see
Every physical table in the room exists on the canvas with the right name, shape, and seat count, and the layout roughly matches the venue. Each table shows its own count (“0 of 8”) so you can see capacity at a glance before you start seating people.
If something goes wrong
- The Add a table button is grayed out: only seating-only events on the free seating plan have a table cap. Follow the upgrade link in the notice to lift it.
- You can’t drag tables on your phone: that’s by design. Open the chart on a laptop to arrange the room; use your phone for renaming, seat counts, and seating guests.