How to choose a design template
Wedding websiteAll plans
A template sets the whole personality of your page; the header layout, typography, and starting colors; in one click. Your names, photos, and sections stay exactly as they are when you switch, so trying every design costs nothing but a few minutes of fun.
Plan: All plans · Where: Website editor → Look and feel → Theme and colors
Before you start
- Add your cover photo and names first (see the header guide below); templates look dramatically different with a real photo in them, so judge them with yours.
Steps
-
Open the Website editor. In the sidebar, click Website (under “Your page”).
-
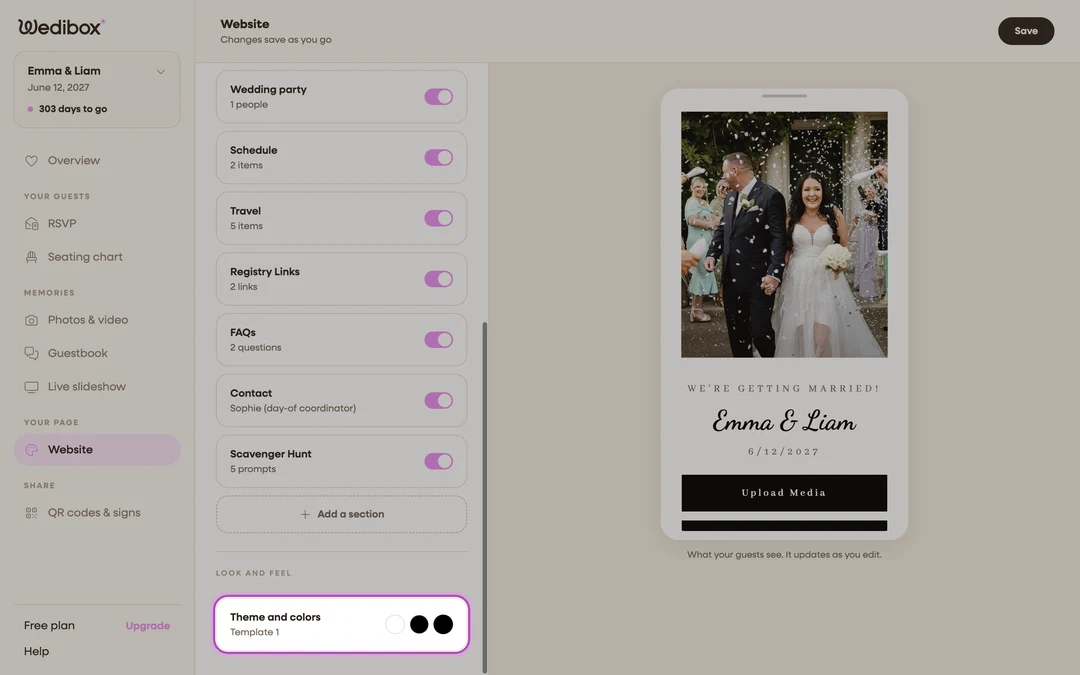
Open Theme and colors. Under Look and feel, click the Theme and colors card; it shows your current template’s name and color swatches.
-
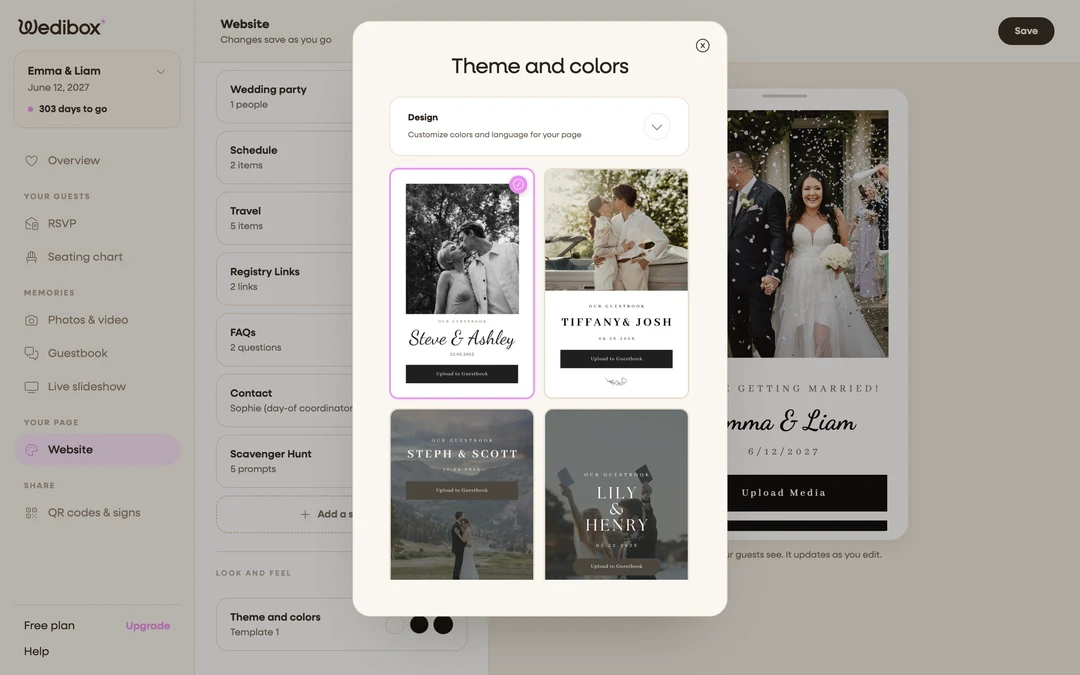
Browse the gallery. The Theme and colors window shows a grid of template thumbnails; 15 designs, from classic full-photo headers to styled layouts like Botanical Elegance and Art Deco Glamour.
-
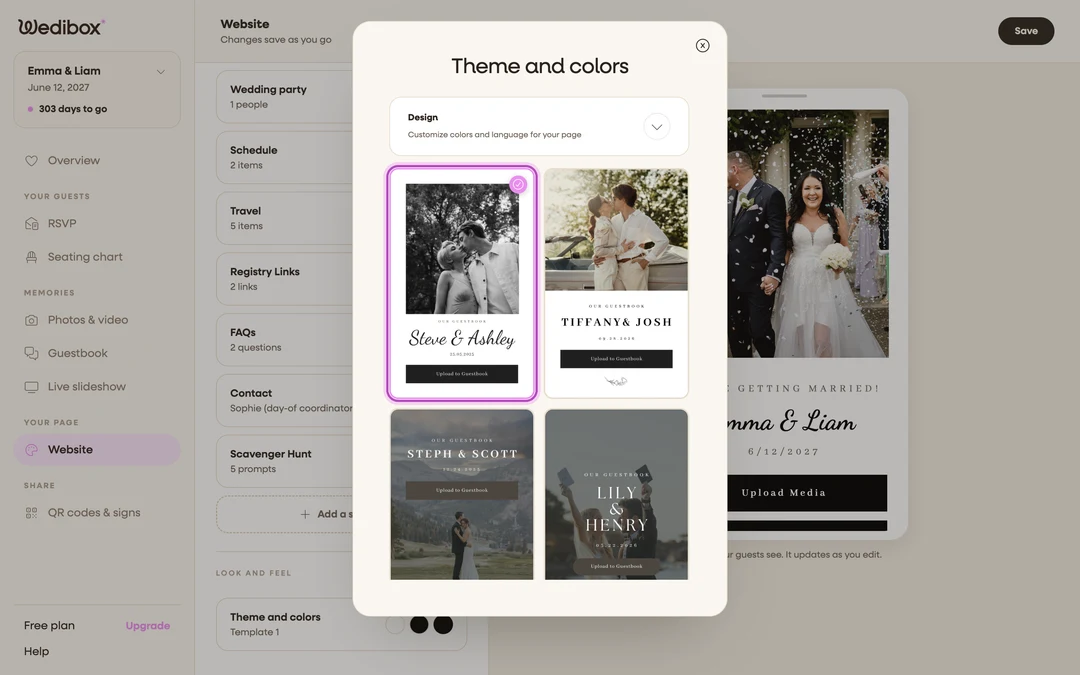
Click a template to apply it. A checkmark marks the selected one, and the live preview restyles instantly. Click through a few; switching is free and nothing you wrote is touched.
-
Fine-tune the colors if you like. The Design card at the top of the same window opens the color controls; see the colors and styles guide.
-
Close the window. Your choice saves when the window closes. Open See what guests see to check the real page on your phone.
What you should see
Your page rebuilt in the new design everywhere; editor preview and live page alike. The Theme and colors card now shows the new template’s name.
If something goes wrong
- Your header buttons vanished after switching. One layout (template 6) shows a single button by design. Switch back, or keep only your most important button.
- The design feels close but not quite right. Don’t switch again; open the Design panel and adjust the four colors. Small color changes usually get you there.