How to build your wedding website with Wedibox
Wedding websiteAll plans
Your Wedibox page is your wedding website and your photo-collection point in one: guests open a single link to see your details, RSVP, and share photos. You build all of it on one screen (an editing panel on the left, a live preview of your page on the right), and you can build every section on every plan.
Plan: All plans · Where: Sidebar → Website (under “Your page”)
Before you start
- Create your event first; your names and wedding date from setup already fill the top of the page.
- Ten minutes is enough for a first pass. Everything can be changed later, any time, even after you’ve shared the link.
Steps
-
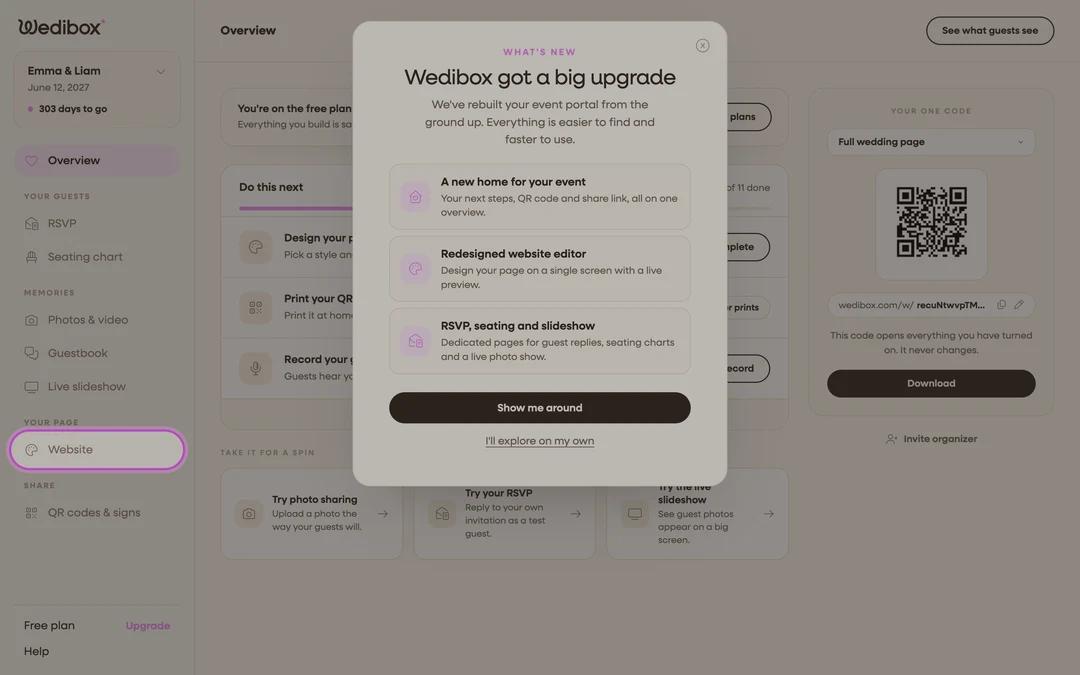
Open the Website editor. In the sidebar, click Website (under “Your page”). Everything guests see on your page is edited here.
-
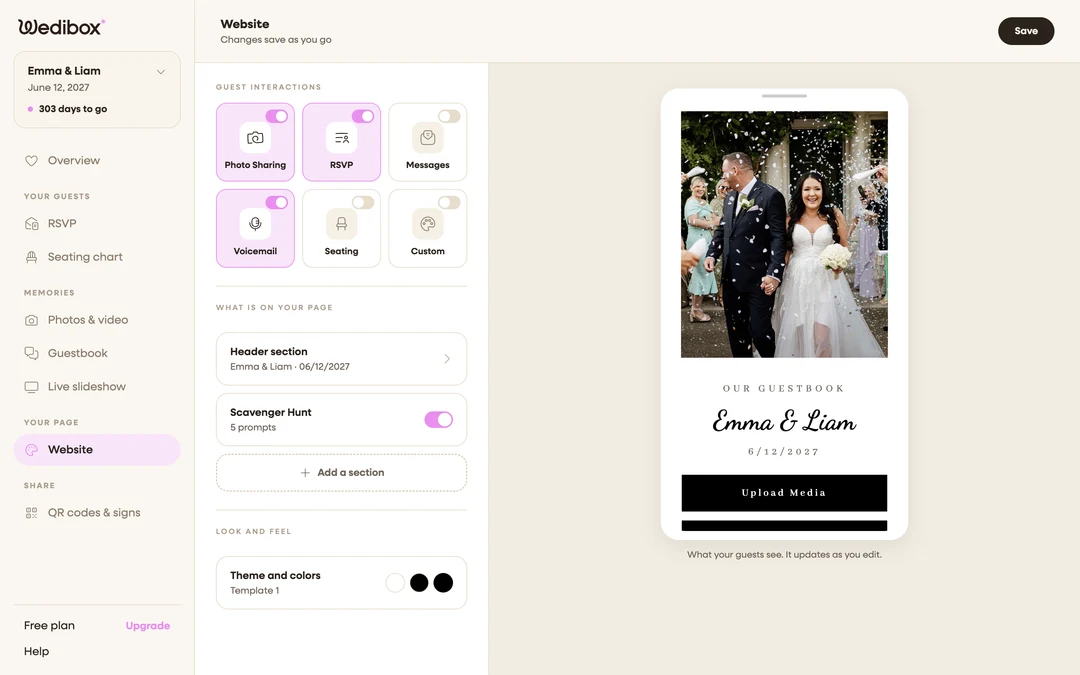
Get your bearings. The left panel is where you edit; the phone-shaped preview on the right shows the result; the caption under it says “What your guests see. It updates as you edit.” On a phone the preview is hidden; use See what guests see instead.
-
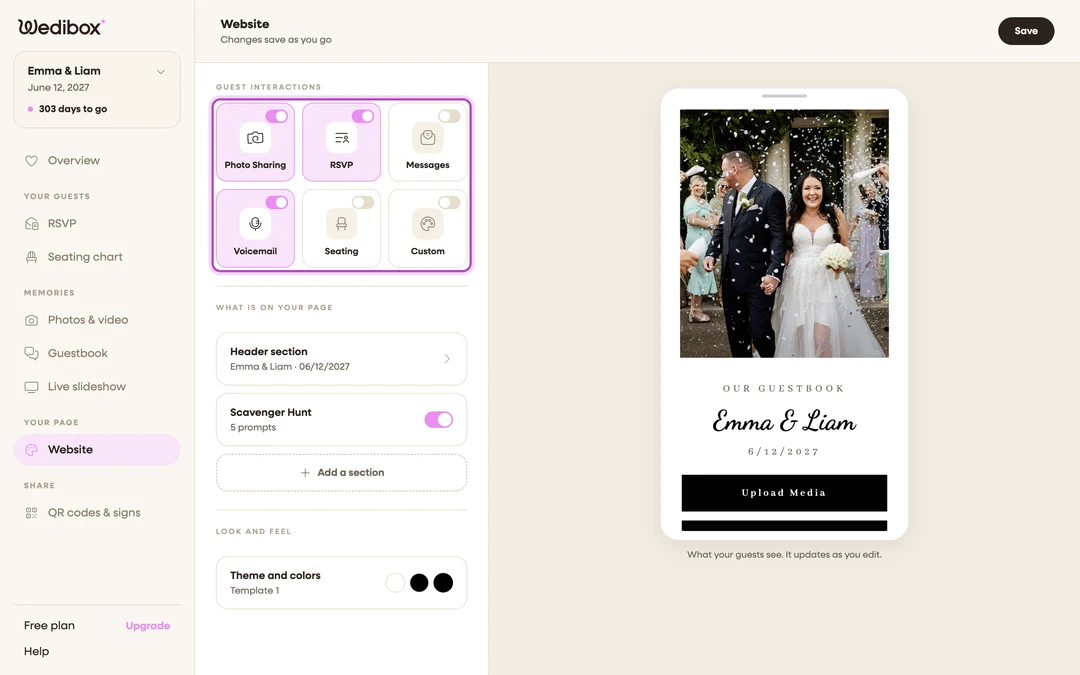
Turn on guest interactions. The tiles at the top (Photo Sharing, RSVP, Messages, Voicemail, Seating, Custom) each have a small switch. Switching one on adds the matching button to the top of your page and enables that feature for guests.
-
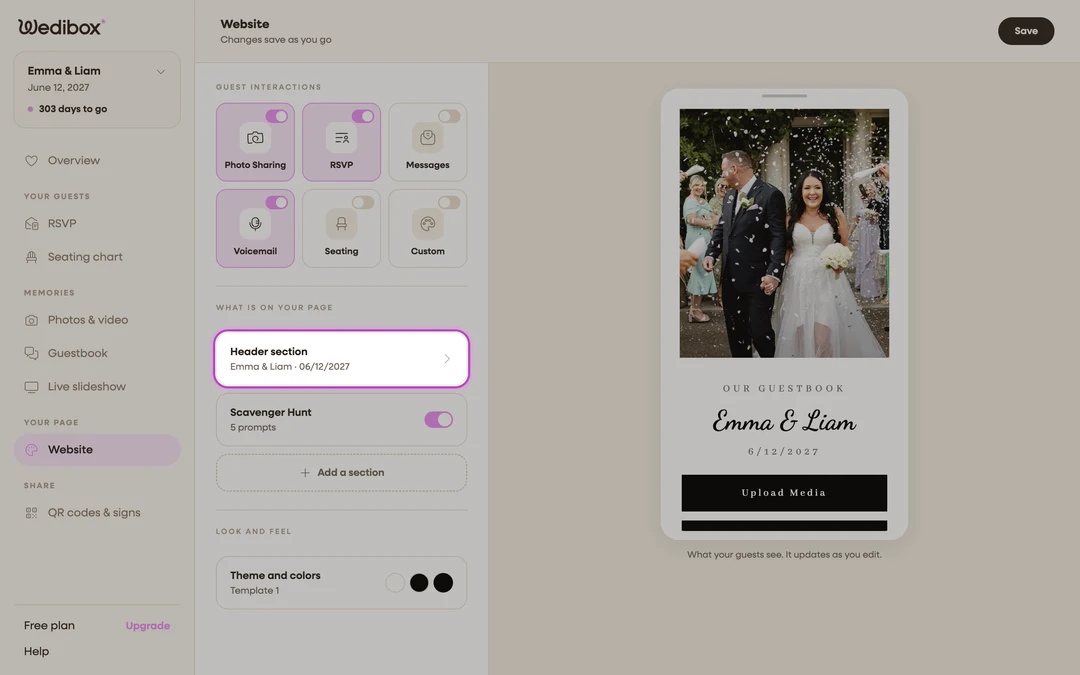
Edit a section. Under What is on your page, click a card (start with Header section) and its editor opens in a window over the preview. The small line under each card shows its current state, like “3 chapters” or “Not set yet.”
-
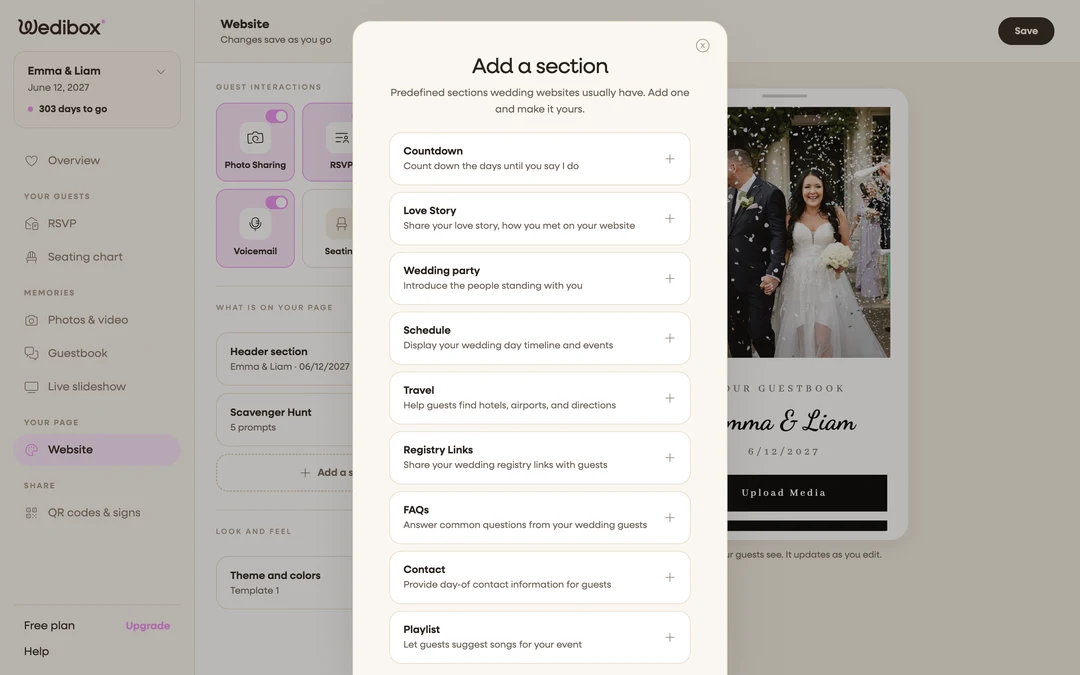
Add more sections. Click Add a section to open the picker: Countdown, Love Story, Schedule, Travel, FAQs, and more, each with a one-line description. Click one to put it on your page and open its editor straight away.
-
Style your page. Under Look and feel, click Theme and colors to pick a design and adjust colors. The preview restyles instantly.
-
Save as you go. Toggles save on their own; the line under the page title cycles from “Changes save as you go” to “All changes saved.” Section editors save when you close them, and the Save button in the top-right saves everything on demand.
-
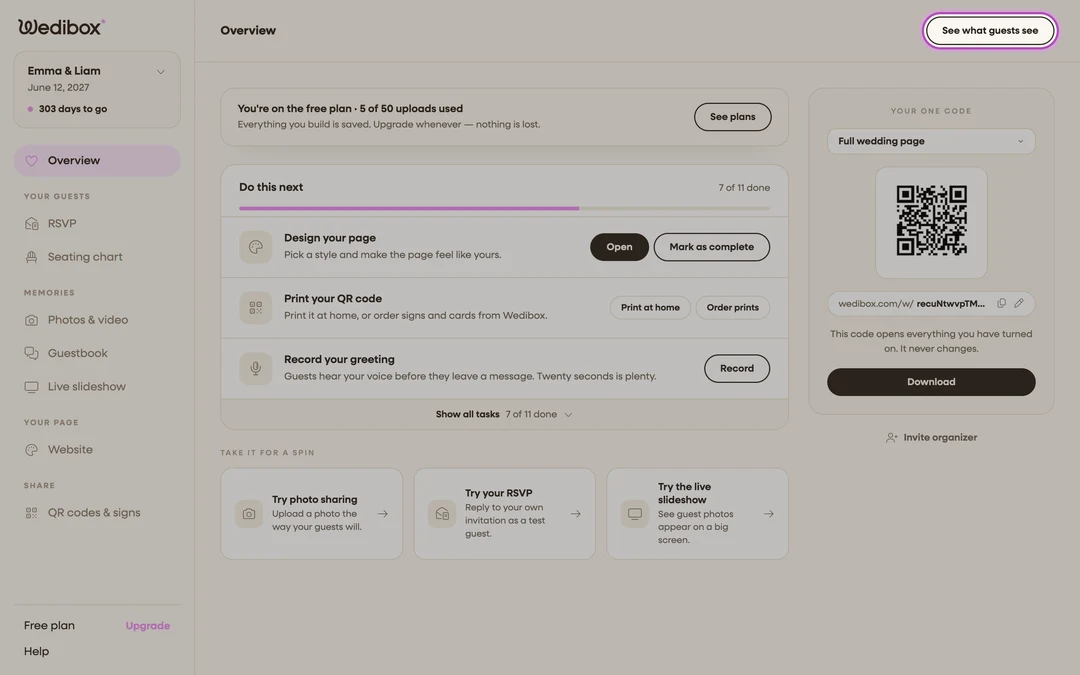
Check it as a guest. On your Overview, click See what guests see to open your live page in a new tab. This is exactly what anyone with your link gets.


What you should see
A page with your names, date, and cover photo up top, action buttons under them, and your sections below, matching the preview exactly. Your page is live at your link from day one; when you’re happy, share it (see the publish-and-share guide below).
If something goes wrong
- “That did not save. Please try again.” A save failed, usually a connection hiccup. Click Save in the top-right to retry.
- You built a section but guests don’t see it. Some sections only appear to guests on certain plans, even though you can build them all. See which sections come with which plan.