How to deliver your first drop
For creatorsDrops account
The first time you create a drop, Wedibox walks you through it in five short steps: who it is for, where it will live, which files to add, how the couple receives it, and a review. Nothing is sent to the couple until you publish, so you can take your time. After the wizard, every new drop starts from a shorter popup instead.
Plan: Drops account · Where: wedibox.com/d/first-drop (also the + New gallery button until you finish or skip the wizard)
Before you start
- Have the couple’s names and wedding date.
- Know the studio name you want in every link. It becomes the first part of every drop
address, like
wedibox.com/d/your-studio/maya-and-jordan. - Optional: the finished photos and videos on this device, and the couple’s email.
Steps
-
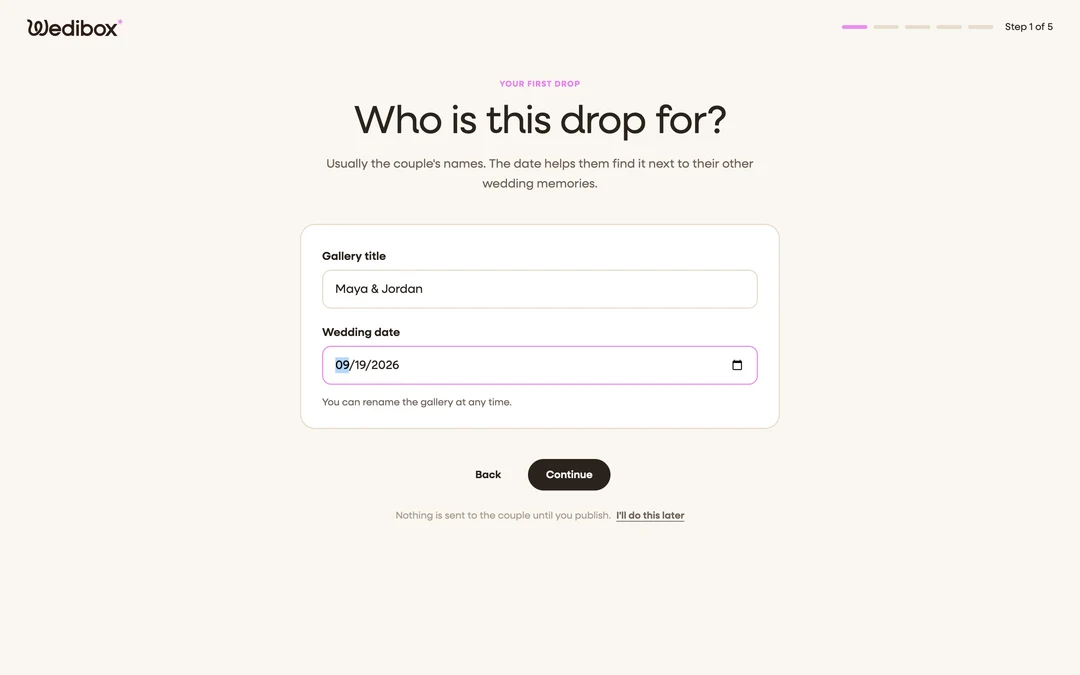
Name the drop. Under “Who is this drop for?”, type the Gallery title, usually the couple’s names, and pick the Wedding date. The date helps the couple find the drop next to their other wedding memories. Click Continue.
-
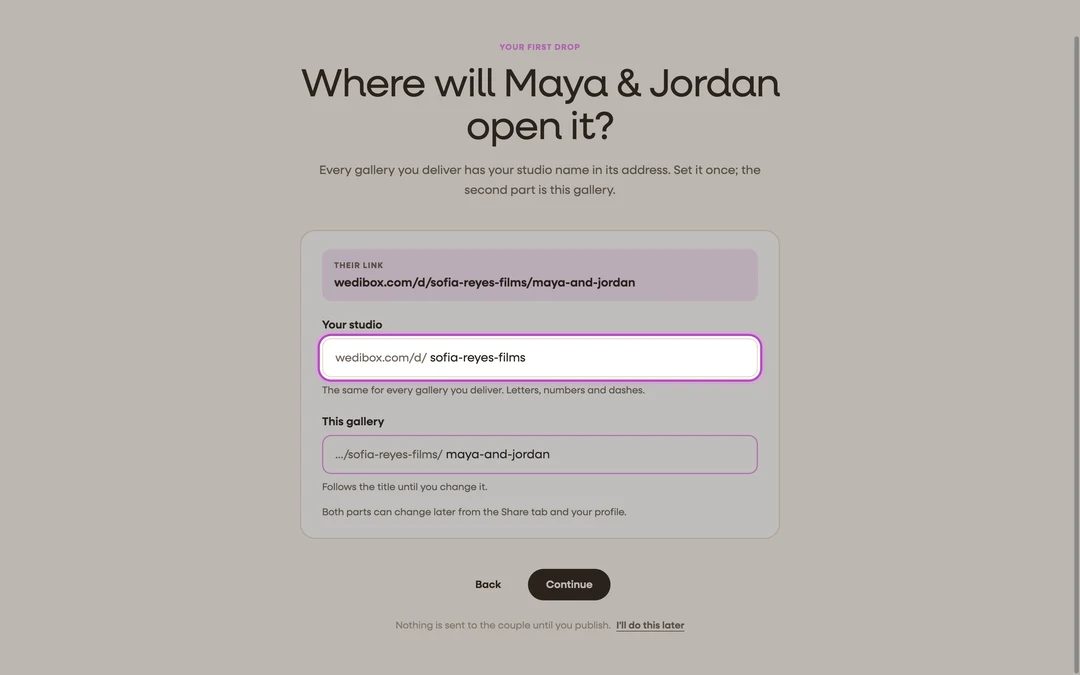
Set the link. Under “Where will [the couple] open it?”, fill in Your studio (the same for every drop you deliver) and This gallery (follows the title until you change it). Both use 3 to 40 letters, numbers, and dashes. The “Their link” preview updates as you type. Click Continue; the studio part saves to your account right away.
-
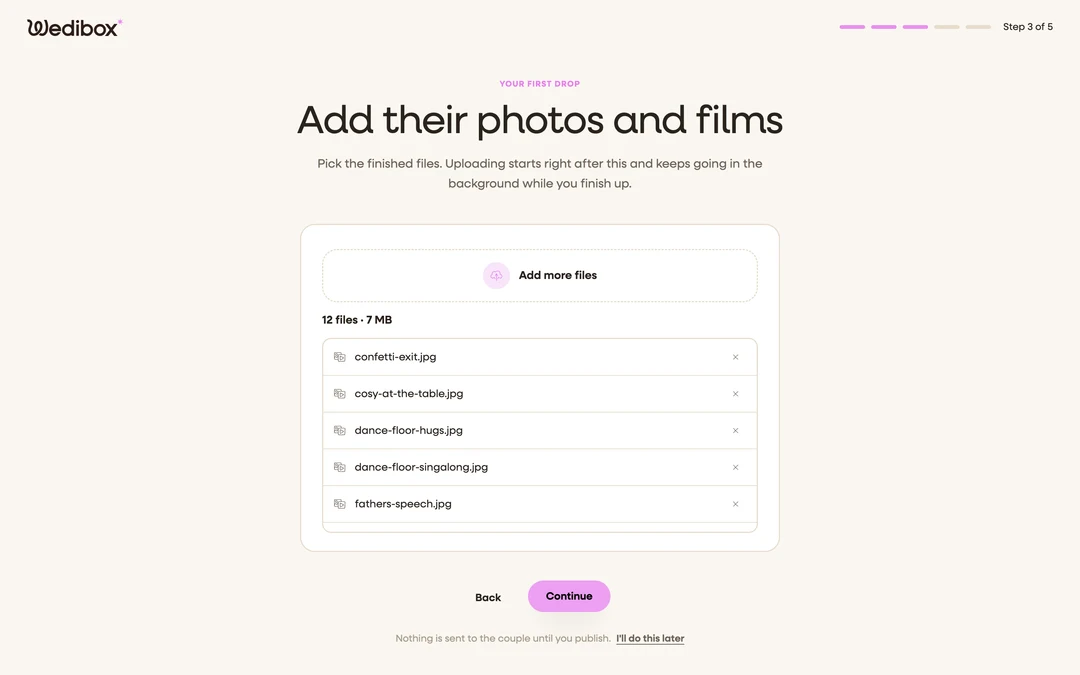
Add their photos and films. Click Choose photos and videos and select the finished files, or skip this step and add them on the drop page later. Files can be up to 20 GB each and there is no cap per drop; only your account storage applies. Uploading starts the moment the drop exists and keeps going in the background.
-
Enter the couple’s email. Under “How should [the couple] receive it?”, type the Couple email (optional). With an email, Wedibox sends the couple a personal invitation the moment you publish. Without one, you get a link to share yourself. The panel on the right lists what the couple gets.
-
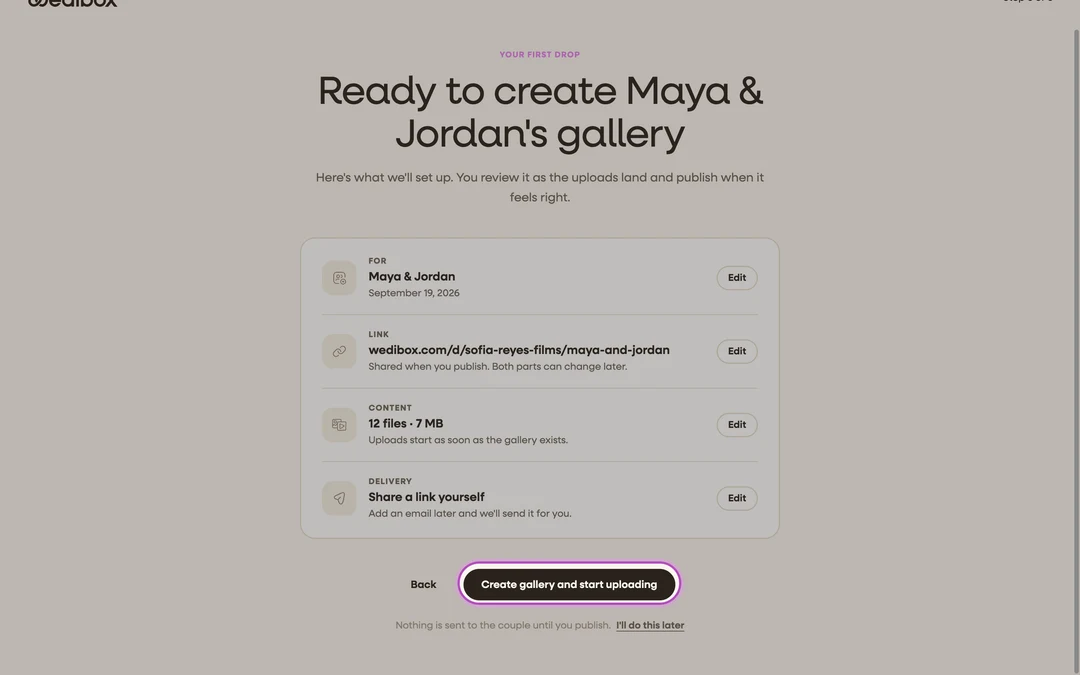
Review and create. The last step lists For, Link, Content, and Delivery, each with an Edit button. Click Create gallery and start uploading.


What you should see
The drop page opens at wedibox.com/d/g/… with your files uploading. The sidebar row
for the drop reads “Uploading” with a live percentage, and the dashboard shows “x of y
files uploaded” with a progress bar. The drop stays a Draft until you publish it,
so the couple has not been contacted yet.
If something goes wrong
- “Another studio already uses that name. Try another.” Studio link names are
unique across Wedibox. Add a city or a year, for example
sofia-films-nyc. - “Link names use 3 to 40 letters, numbers and dashes, no spaces.” Remove spaces, accents, and symbols; dashes are the only separator.
- “Add a gallery title and the wedding date to continue.” Both fields are required on step 1, even if the date is approximate. You can change it later.
- You closed the wizard early. Click I’ll do this later at the bottom to go to the dashboard; from then on + New gallery opens the regular popup.