How to upload photos and videos to a drop
For creatorsDrops account
The uploader is built for a weekend’s worth of clips from a phone: files up to 20 GB each, no size cap per drop, and uploads that pick up where they stopped if your connection drops or the tab closes. You choose an album for each batch as you go, and you can publish as soon as the first file is in.
Plan: Drops account · Where: drop page → Media tab
Before you start
- Accepted formats: JPEG, PNG, HEIC, WebP, MP4, and MOV. RAW files and project files are not accepted.
- Check the storage line at the bottom of the sidebar. Before you pick a plan your first drop has a 20 GB allowance; on a plan, your storage size applies.
- On an iPhone, plan to keep the screen open while clips upload. iOS pauses browser uploads in the background and resumes them when you come back.
Steps
-
Open the drop and stay on Media. New drops open on the Media tab. If the drop already has files, click Upload at the right end of the album bar instead of looking for the drop zone.
-
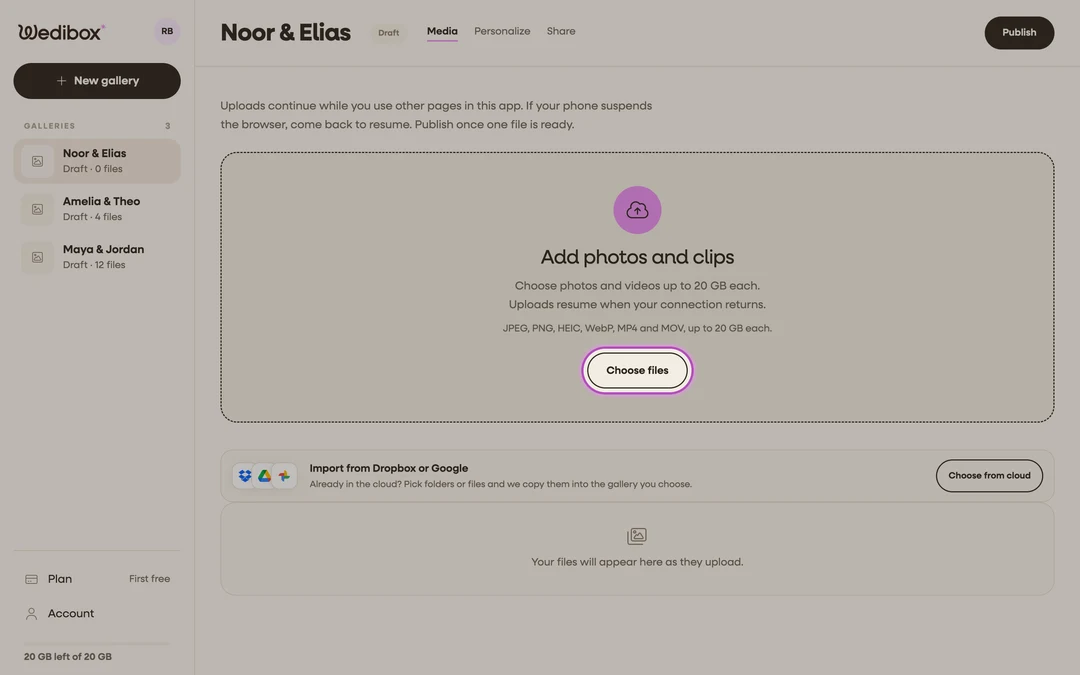
Click Choose files. On an empty drop the zone reads “Add photos and clips”. A popup asks “Where should these go?” first.
-
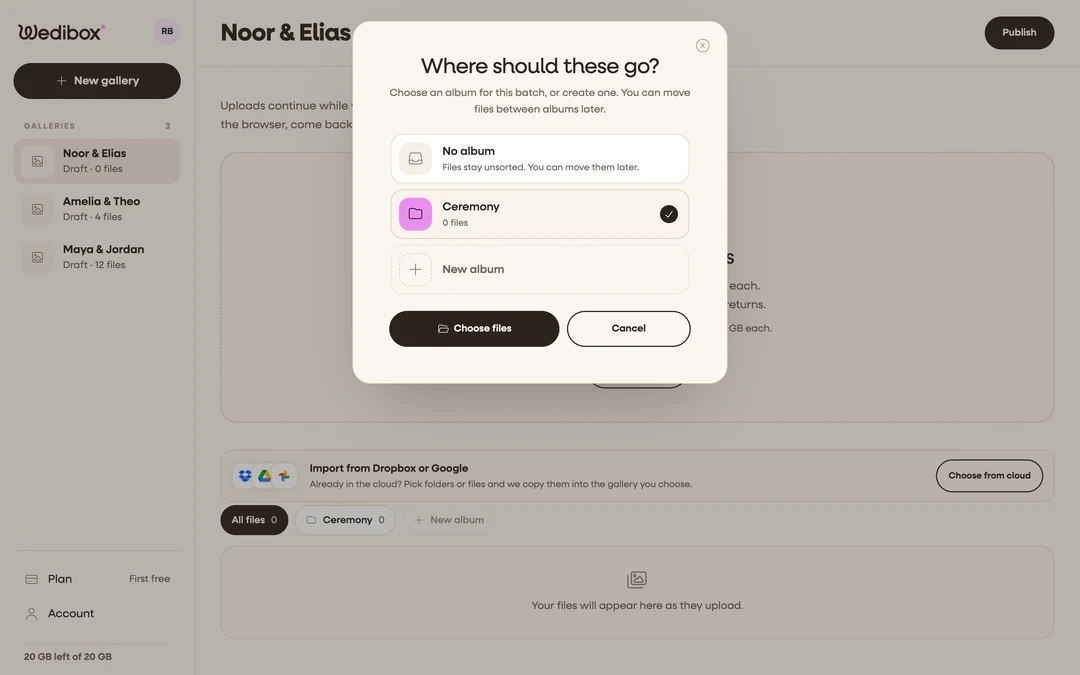
Pick an album for this batch. Choose No album, an existing album, or click New album and type a name such as “Ceremony”. Then click Choose files and select the photos and videos in your phone’s or computer’s picker. You can also drag files onto the zone on a computer; the same popup appears with an Upload x files button.
-
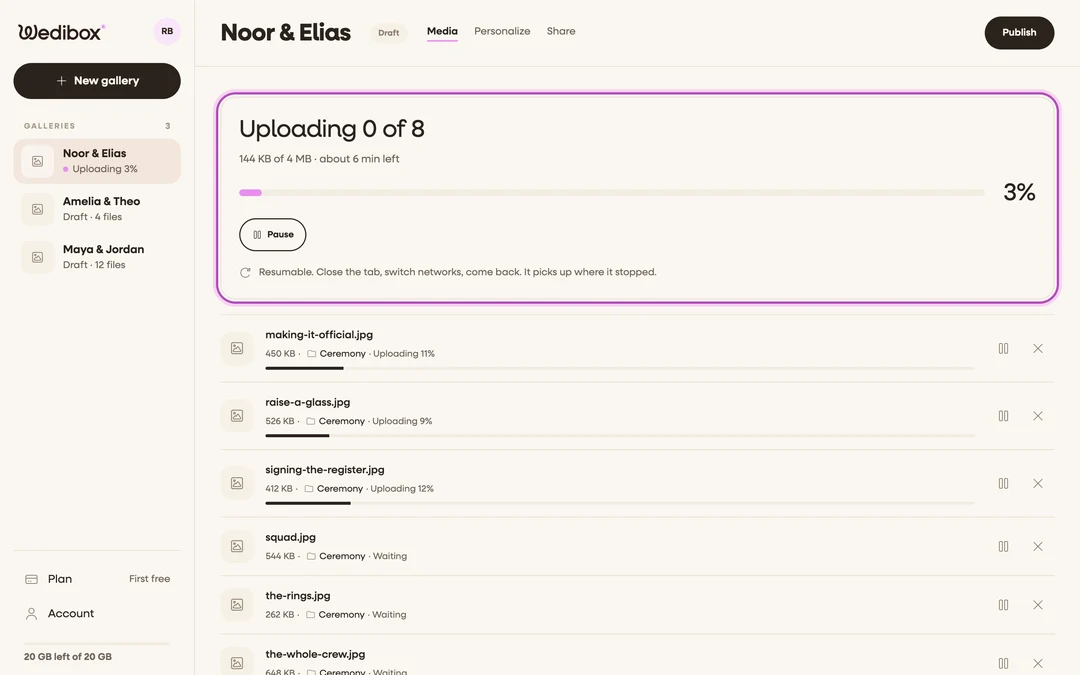
Let it run. A summary card shows “Uploading x of y” with the bytes done, a time estimate, and a Pause button. Each file has its own row with its percentage. You can switch to Personalize or Share, or open another drop; uploads keep going anywhere inside the app.
-
Add more while it uploads. Click Add more on the summary card, or Upload in the album bar, to queue another batch into the same or a different album. Up to three files upload at a time; the rest wait their turn.
-
Publish when the first file is ready. You do not have to wait for the last clip. See the publish guide; files that land afterward show up for the couple as each one finishes.


What you should see
The summary card ends with “x files are in” and offers Add more and Clear finished. Each tile in the grid gets a thumbnail once its preview is ready; until then it reads “Preparing preview”. The storage line in the sidebar goes down by the bytes you added, and the drop row in the sidebar shows the new file count.
If something goes wrong
- “Not a supported type. Use JPEG, PNG, HEIC, WebP, MP4 or MOV.” Export the file in one of those formats and add it again. There is no retry for this one.
- “Over 20 GB. Files are capped at 20 GB each.” Split the clip in your editor or export a smaller version.
- “Paused. The connection dropped.” Nothing is lost. The upload restarts on its own when you are back online, or click Retry now.
- Something else is stuck. See the troubleshooting guide below for “needs choosing again”, “Your session ended”, and “Not enough room”.