A wedding seating chart tells every guest which table is theirs. You need one for almost any seated dinner, and it takes about two weeks of light work once your RSVPs are in. This guide walks you through the whole job: when to start, how to sort your guests, who sits where, how to display the chart, and what to do when plans change on the day.
Wedibox has hosted more than 100,000 weddings, and the seating chart is the task couples put off the longest. The reason is simple. It feels like one giant puzzle. It is not. It is a short list of small decisions made in the right order. Follow the order below and the puzzle solves itself.
Do you need a wedding seating chart?
Yes, if guests will sit down for a meal. A seating chart keeps the room calm when doors open, tells the kitchen where each plate goes, and makes sure nobody eats alone. The only weddings that skip it are small, casual ones with open seating and food served from a buffet or stations.
| Your reception | Do you need a chart? | Why |
|---|---|---|
| Plated dinner, any size | Yes, with seat assignments | Servers match meals to seats. Place cards keep it exact. |
| Buffet or family style, 50 or more guests | Yes, by table | Guests need a table to come back to. Tables only, no seat numbers. |
| Buffet, under 50 guests | Optional | A small room sorts itself. Reserve one table for parents and grandparents. |
| Cocktail style, no full dinner | No | Set out enough seats for older guests and let everyone roam. |
One more case. If you have divorced parents, guests who do not get along, or many people who know nobody else, make a chart even for a small wedding. It removes the awkward first ten minutes for everyone.
When to start your seating chart
Start the day after your RSVP deadline and finish two weeks before the wedding. Do not start earlier. Every early draft gets rewritten when the replies land, and every rewrite costs you an evening.
Here is the timeline that works for most couples:
- 6 weeks out: RSVP deadline. Chase the people who have not replied. A quick text gets most of them.
- 5 weeks out: Confirm the table count with your venue. Sort your guests into groups. Do not seat anyone yet.
- 4 weeks out: Seat the couple, parents, and wedding party. Fill the rest of the tables.
- 3 weeks out: Show the chart to both sets of parents. Fix what they flag. Send the file to your stationer if you are printing a sign.
- 2 weeks out: Send the final chart to your caterer, venue coordinator, and planner.
- Wedding week: Small edits only. Keep a digital copy that you can update from your phone.
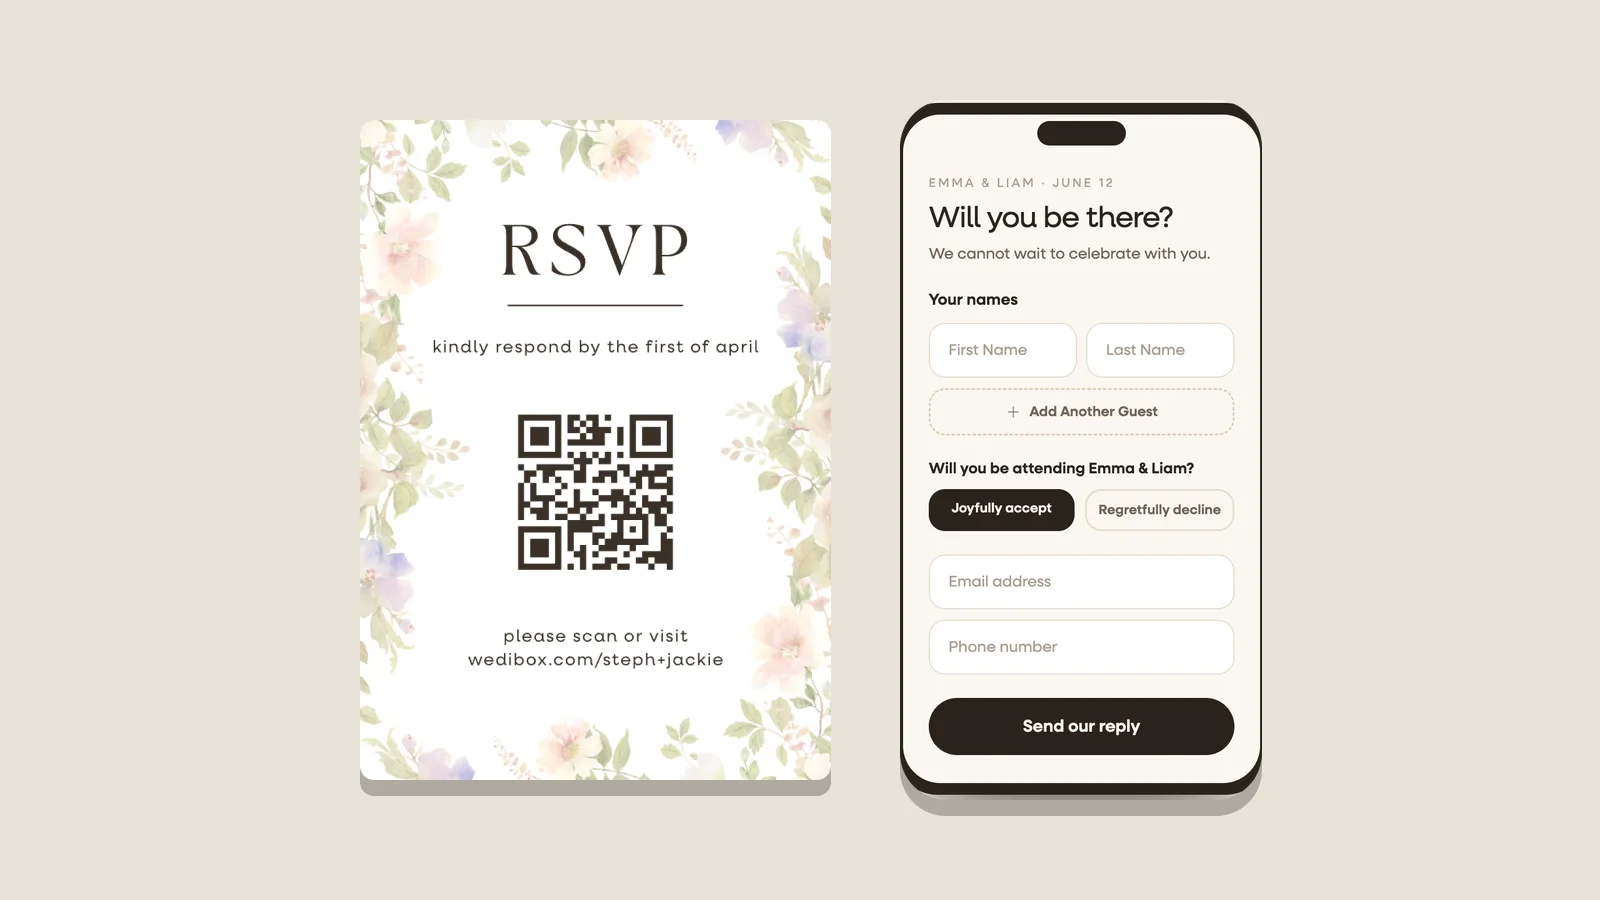
Collecting replies online shortens this. When guests answer through a wedding RSVP QR code, your headcount, plus-ones, and meal choices are already in one list on the day the deadline passes.
How to make a wedding seating chart
The method below has seven steps. The most important one is step 3. Most couples try to seat guests before they sort them, and that is where the stress comes from. Sort first, then seat, and the chart takes an afternoon.
We will use one example throughout: a wedding with 118 confirmed guests, a plated dinner, and round tables that seat 8.
Step 1. Lock your guest count
Count only the yes replies. Add the people who have not answered but will almost certainly come, like close family. Everyone else counts as a no until they say otherwise. Write the number down. In our example it is 118.
Then add a small buffer. Two or three empty seats spread across different tables cover a surprise plus-one or a vendor who needs to eat. Do not leave a whole empty table. It looks like a mistake in the photos.
Step 2. Set your table count from the room
Ask your venue for a floor plan with the dance floor, the band or DJ, the bar, and any pillars marked. Then divide your guest count by the seats per table. A 60 inch round seats 8 comfortably. A 72 inch round seats 10. An 8 foot rectangle seats 8, or 10 with chairs on the ends.
In our example, 118 guests at 8 per table is 14.75 tables. Round up to 15 tables, which gives 120 seats and the 2 spare seats you want. If the room only fits 14 tables, switch some to 72 inch rounds or seat 9 at a few tables. Confirm the count with the venue before you go further. Every later step depends on it.
Step 3. Sort guests into groups before you seat anyone
This is the step that makes everything else easy. Open a spreadsheet, or the guest list in your seating tool, and give every guest four labels:
- Party. Who they arrive with. A couple, a family, a plus-one. Parties never split.
- Group. How they know you. College friends, work, your partner's cousins, the neighborhood you grew up in.
- Side. Yours, your partner's, or both.
- Notes. Anything that changes where they sit. Needs an aisle seat. Cannot sit near a speaker. Should not sit with a certain person. Under 10 years old.
Now sort the list by group. You will see the tables form on their own. Eight college friends are a table. Your partner's six cousins plus two of their partners are a table. The leftover people in each group are who you need to think about, and there are far fewer of them than you feared.
In our example the 118 guests fall into 11 groups. Six of them fill a table on their own. The other five groups are small and get combined in step 5.
Step 4. Seat the first three tables
Seat yourselves, your parents, and your wedding party before anyone else. These tables set the shape of the room. Pick a head table with the wedding party, a sweetheart table for the two of you, or a family table with parents and grandparents. Parents sit closest to you. The wedding party takes the next tables out. Once those tables are placed, everything else fills in around them.
Step 5. Fill the rest, table by table
Work outward from your table. Place each full group at a table near the people they know. Then combine the small groups using three rules:
- Nobody sits with only strangers. Every guest should know at least two other people at their table. A guest who knows nobody gets seated with your most welcoming friends, never at a table of leftovers.
- Mix a little, not a lot. Zola's seating chart guide recommends blending circles on purpose, such as your close friends with your partner's. A good rule of thumb is a table that is about 70 percent people who already know each other and 30 percent new faces. It feels lively without feeling forced.
- Match energy to location. Friends who will dance sit near the dance floor. Older relatives and guests who leave early sit near the entrance and away from the speakers. Guests with mobility needs get an aisle seat at the end of a table with a clear path to the restrooms.
Kids under 10 sit with their parents. A separate kids table only works if you have at least six children and a sitter to watch them. Teenagers are usually happier at a table of teenagers.
In our example, the five small groups become three mixed tables. Two work friends join a table of neighbors they met at your engagement party. Three cousins who know nobody sit with the aunt who raised them and two of your parents' friends. The chart is now full with two spare seats, one at table 9 and one at table 14.
Step 6. Decide between tables and seats
Now choose how exact the chart needs to be:
- Table only. Guests find their table number and pick any chair. This works for buffets, family style dinners, and most casual receptions. It is the least work.
- Table and seat. Each guest has a place card at a specific chair. Choose this for a plated dinner with meal choices, so the server knows who ordered the fish. It is also the kind choice for a table where the mix matters, because you control who sits next to whom.
Many couples split the difference. They assign seats at the family tables and leave the friend tables table only. If you are unsure, assign seats. It takes an extra hour and removes the one awkward moment where a couple gets separated because the last two chairs are on opposite sides.
Step 7. Check it, then share it
Read every table out loud with your partner. You are listening for four problems: a couple split across tables, a guest who knows nobody at their table, two people who should not sit together, and a table with an empty chair next to a full one. Then show the chart to both sets of parents. They know things about their own friends that you do not.
When it is final, send it three places: your caterer, your venue coordinator, and whoever runs the day. Export it as a PDF and a CSV so each vendor gets the format they prefer. If you built the chart in the free wedding seating chart maker, both exports are one click, and the print and export guide shows exactly where to find them.
Wedding seating chart etiquette: who sits where
Etiquette here is mostly common sense written down. These are the questions couples ask us most, with the plain answer for each.
Ceremony seating
Ceremony seating is separate from the reception chart and much simpler. Reserve the first one or two rows on each side for parents, grandparents, and siblings. Put a small card or a ribbon on those chairs so nobody else takes them. Everyone else sits where they like.
Tradition seats the bride's family on the left and the groom's family on the right, with the parents in the first row on each side and the next rows held for immediate family, as the Emily Post Institute lays out. Many Jewish ceremonies reverse the sides. Many couples now skip sides entirely and post a sign that reads "pick a seat, not a side." It fills both halves of the room evenly and saves guests from choosing.
The couple's table
There is no wrong choice. A head table with the wedding party is traditional and makes a great photo. A sweetheart table gives the two of you a quiet meal and lets your wedding party sit with their own partners. A family table with parents and grandparents suits smaller weddings. Pick the one that matches how you want to spend dinner, not the one you think is expected.
Parents, step-parents, and divorced parents
Each parent gets a seat of honor at the tables closest to you. When parents are divorced and friendly, they can share a table with grandparents and close family. When they are not, give each parent their own table filled with their own friends and siblings, and keep those tables an equal distance from yours. Step-parents sit with the parent they are married to. Talk to each parent before the chart is final so nobody is surprised on the day.
Plus-ones
A plus-one sits with the guest who brought them, always. If a guest was not offered a plus-one, the chart is where they find out. Decide your plus-one rule when you send invitations, set the same cap on your online RSVP form, and apply it the same way to everyone. Single guests are scattered among people they know. There is no singles table.
Vendors
Your photographer, videographer, band, DJ, and planner all need to eat. Ask your caterer for vendor meals and give vendors a table near the kitchen or at the edge of the room, not in a hallway. They eat when you eat, so they are back on their feet before the toasts begin.
Children
Children sit with their parents unless you plan a real kids table with activities and an adult in charge. If your wedding is adults only, say so on the invitation, not on the seating chart.
For the rest of the rules of thumb, the Brides etiquette guide covers the traditional order in detail. Treat all of it as a starting point. Your guests are people you know, and you will make better calls than any rulebook.
Wedding seating chart ideas: how to display it
Once the chart is done, guests need to read it in a hurry, in a crowd, often with a drink in one hand. The display is a design choice and a traffic choice at the same time. Start with the decision below, then pick a format.
By table number or alphabetical?
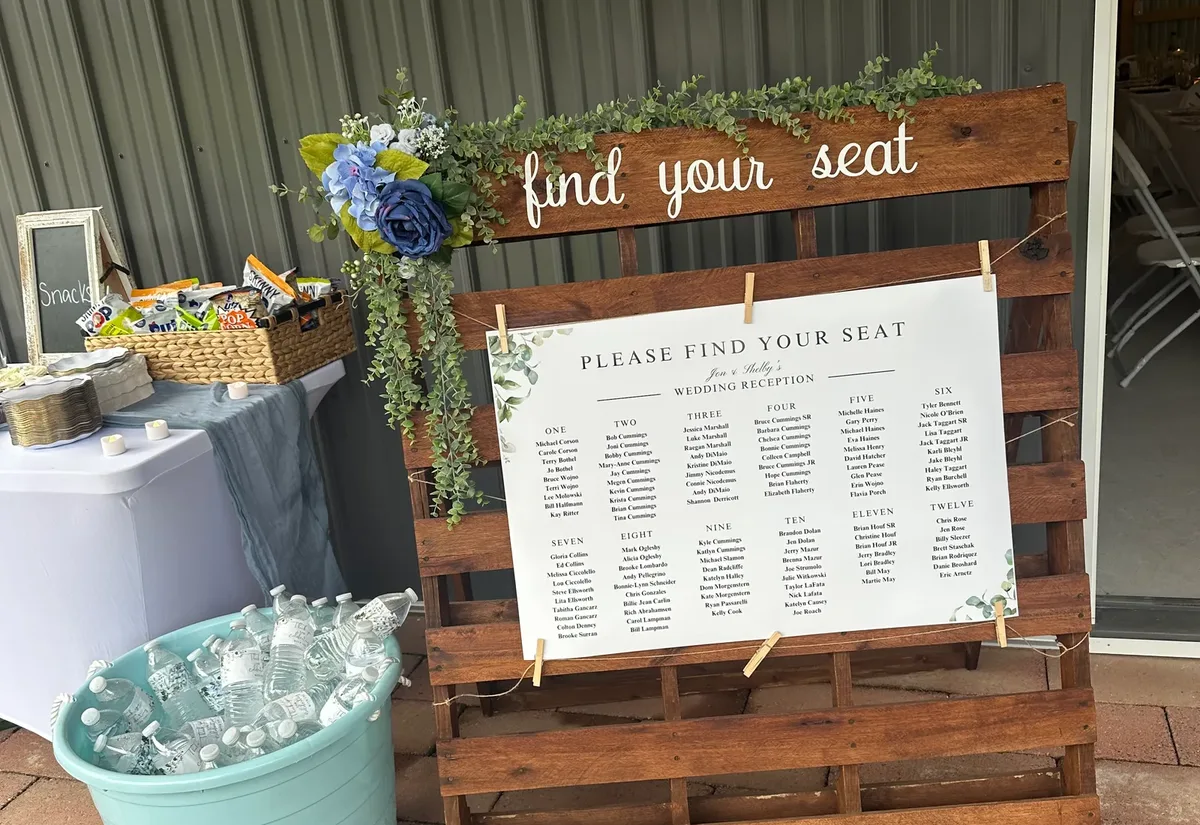
List guests by table when you have fewer than about 100 guests. It reads like a story of the room and looks lovely on a sign. List guests alphabetically when you have more than 100. A guest scans for their own last name in seconds instead of reading fifteen table lists. If you list by table, keep each list in alphabetical order inside the table so nobody has to read twice.
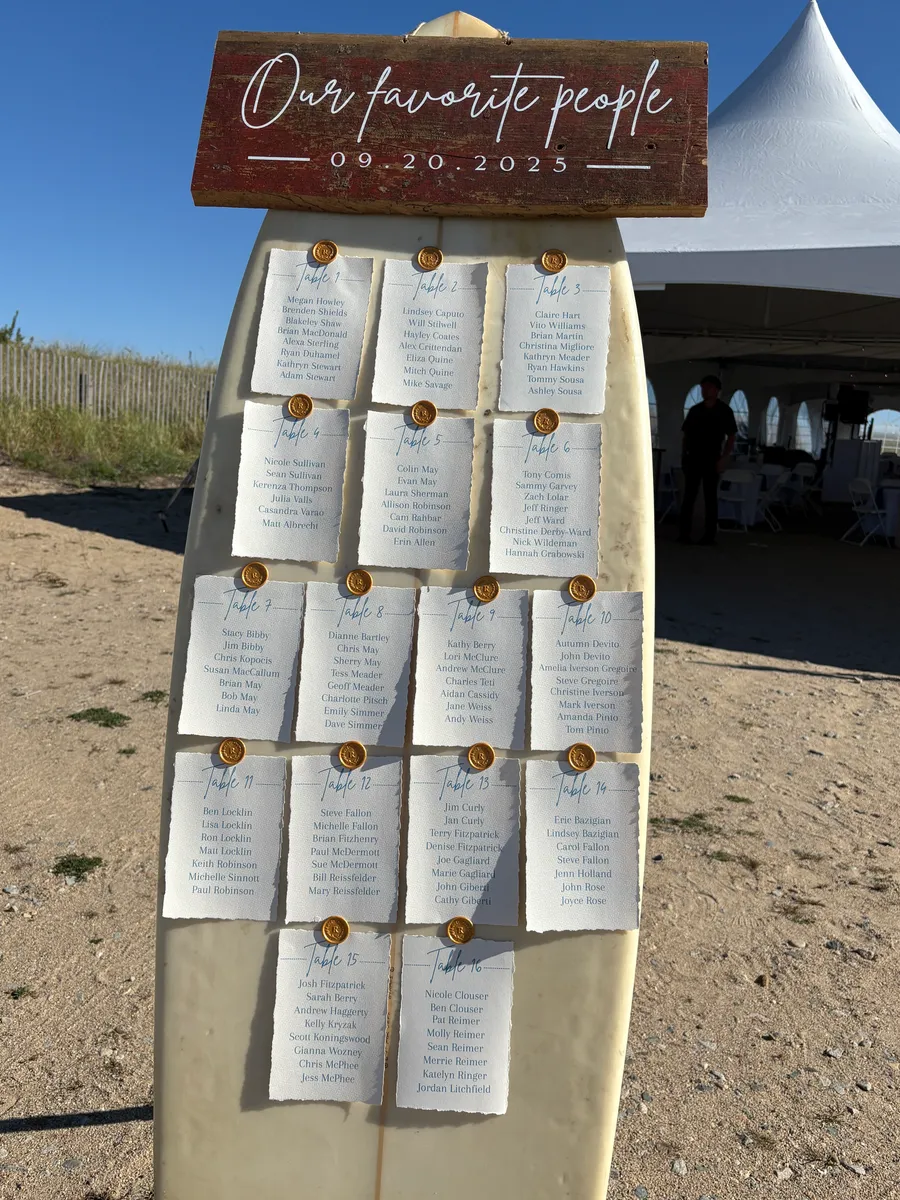
Sign on an easel
The classic. A printed poster, a framed print, or a hand lettered board on an easel at the entrance. Print at 24 by 36 inches for up to about 120 guests and 30 by 40 inches above that. A single 24 by 36 inch paper poster runs about $15 to $30 online, for example $15.36 at Center City Print, and a foam board version starts near $14 at Vistaprint. Add a frame or a stand and expect $50 to $150. Order it at least ten days out so a typo can be fixed.
Escort cards
One small card per guest or per couple, laid out alphabetically on a table, with the table number inside. Guests pick up their card and carry it in. Escort cards handle a big crowd better than a single sign because many people can look at once. Budget $1 to $3 per card if you print them, or make them yourself with card stock and a good pen.
Mirror, acrylic, or wood
A vintage mirror with painted lettering, a clear acrylic panel, or a wooden board makes the chart part of the decor. A plain printed acrylic sign starts around $27 at Vistaprint. Hand lettered mirrors and custom acrylic from a calligrapher usually run $100 to $300 for lettering and materials. These look wonderful in photos, and they are the hardest to change late, so lock the chart before the artist starts.
QR code seating chart
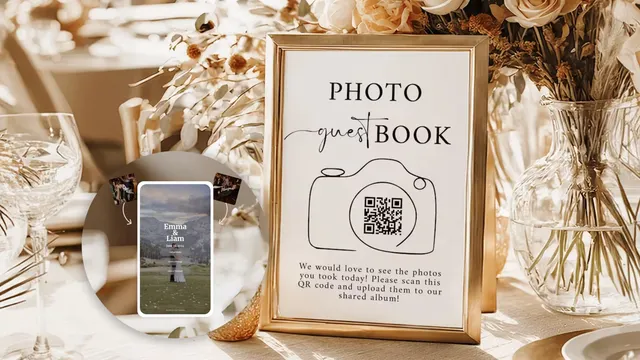
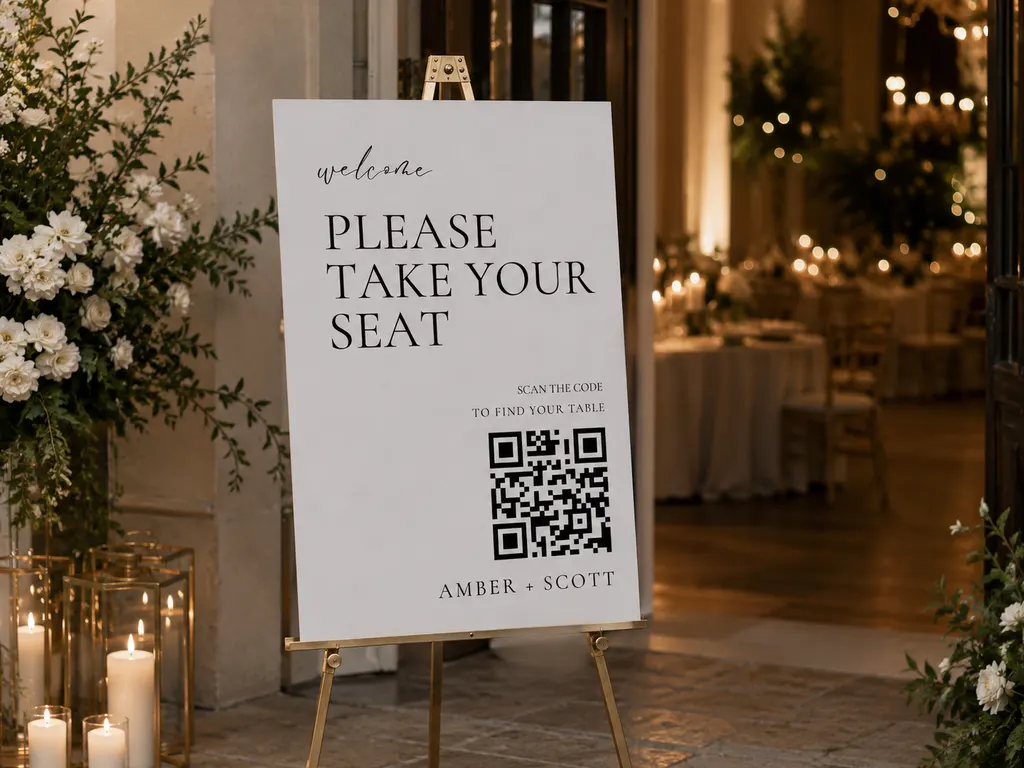
A small sign with a QR code. Guests scan it, type their name, and see their table on their phone. Nobody queues at a poster, late arrivals find their seat without help, and a change on the morning of the wedding takes ten seconds and no reprint. A QR code seating chart pairs well with any of the formats above. Keep the pretty sign for the photos and add the QR code in the corner as the backup that always works.
Cheap DIY wedding seating chart ideas
If the budget is tight, the chart is an easy place to save. These formats each cost under $40 and take one evening:
- Window or picture frame. A thrifted frame with the glass left in. Write the tables on the glass with a paint marker, or slide printed table lists behind it.
- Clothesline of cards. String twine across a wooden frame and pin one card per table with mini clothespins. Guests love reading them.
- Printed sheets in a nice frame. Print your chart on two or three letter size sheets at home and put them in matching frames on the welcome table. Plain, clear, and free.
- Printed QR template. Download one of the free printable seating chart signs, add your QR code, and print it on card stock. Guests search for their name on their phone. It is the cheapest option that still looks finished.
Handling changes on the wedding day
Something will change. A cousin brings a date. An uncle cancels at breakfast. The way to stay calm is to decide now who owns the chart on the day. Give one person the master list, usually your planner, your day-of coordinator, or one steady friend. Every question about seats goes to them, not to you.
Then make the chart easy to edit. A printed sign cannot change, so the spare seats you built in during step 1 do the work. A digital chart can change. If you keep your chart in Wedibox, you update it from your phone and every guest who scans the QR code after that sees the new version. Nothing gets reprinted, and the printed sign next to it stays the pretty backup it was always meant to be.
Mistakes to avoid
- Starting before the RSVPs are in. You will do the work twice. A firm deadline on your wedding RSVP page fixes this.
- A singles table. Guests notice, and it is the one table nobody wants.
- Splitting couples or families to make the numbers work. Move a whole party instead.
- Seating grandparents next to the speakers. Check the floor plan for where the sound will be.
- A whole empty table. Spread spare seats around the room instead.
- Ordering the sign before the chart is final. Give yourself ten days for a reprint.
- Keeping the only copy on paper. Export a PDF and share it with your vendors.
Build your chart for free
You can plan everything above on paper or in a spreadsheet. If you would rather see the room while you work, the free wedding seating chart maker lets you place round and rectangular tables, drop guests into seats, and print the result. It runs in your browser with no signup. When you are ready for the QR code and the Find Your Seat search, the seating chart help guide walks through the full setup, including how to import your guest list from a spreadsheet.