How to personalize your drop page
For creatorsDrops account
The Personalize tab is where the drop stops looking like a folder and starts looking like your work: an opening layout, a palette, fonts, a cover clip, and a note to the couple. A phone and desktop preview on the right updates as you type, and nothing reaches the couple until you click Save changes.
Plan: Drops account · Where: drop page → Personalize tab
Before you start
- Upload at least one file first. The cover and the layout tiles draw from what is already in the drop.
- Your name, handle, and photo come from Account. You can override the name and handle per drop here, but the photo changes in Account only.
Steps
-
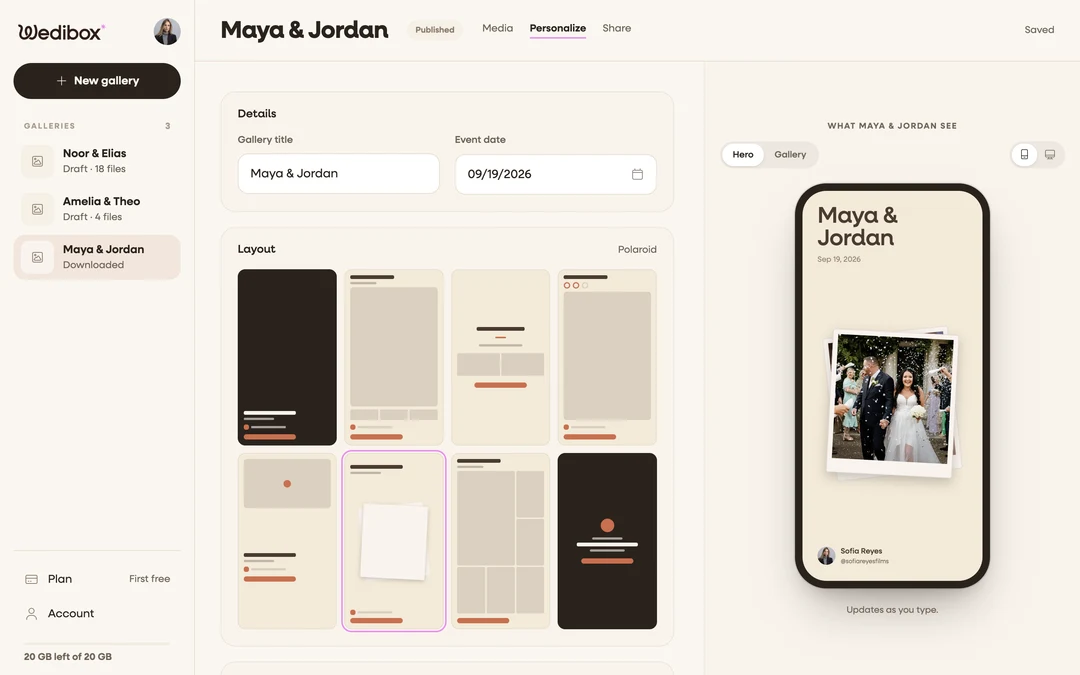
Check the details. Under Details, edit the Gallery title and Event date if needed. The title is required.
-
Pick a layout. Under Layout, click one of the eight tiles: Cover clip, Editorial, Classic, Stories, Film first, Polaroid, Mosaic, or Spotlight. Each tile sketches the opening in your current colors. Film first leads with a clip and a play mark; Stories turns your albums into story rings; Spotlight puts you and your avatar first.
-
Choose the cover. Under Design, click Cover and pick a photo or clip from the drop. The choice saves immediately. Vertical clips play best on phones.
-
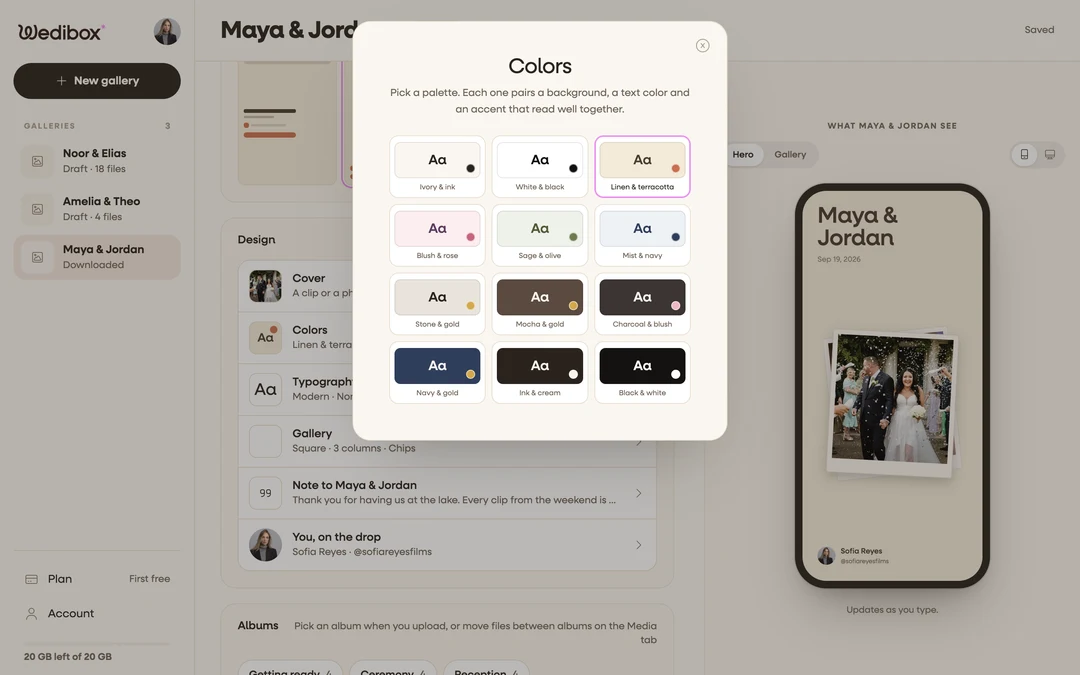
Set the colors. Click Colors and pick one of the twelve palettes, such as Ivory & ink, Linen & terracotta, or Navy & gold. Each palette pairs a background, a text color, and an accent that read well together.
-
Set the typography. Click Typography. Switch between Headings and Body text to pick fonts, choose a Text size (Small, Normal, Large), and a Hero text alignment (Left, Centered, Right).
-
Shape the gallery grid. Click Gallery and choose a Grid style (Square, Masonry, Justified), the number of Columns, and how Albums show (Chips, Story rings, List). The preview switches to its Gallery view while this popup is open.
-
Write a note to the couple. Click Note to [the couple] and type up to 280 characters. It shows at the top of the drop under your cover.
-
Check how you are credited. Click You, on the drop to set Your name on the drop and Your handle on the drop for this drop only.
-
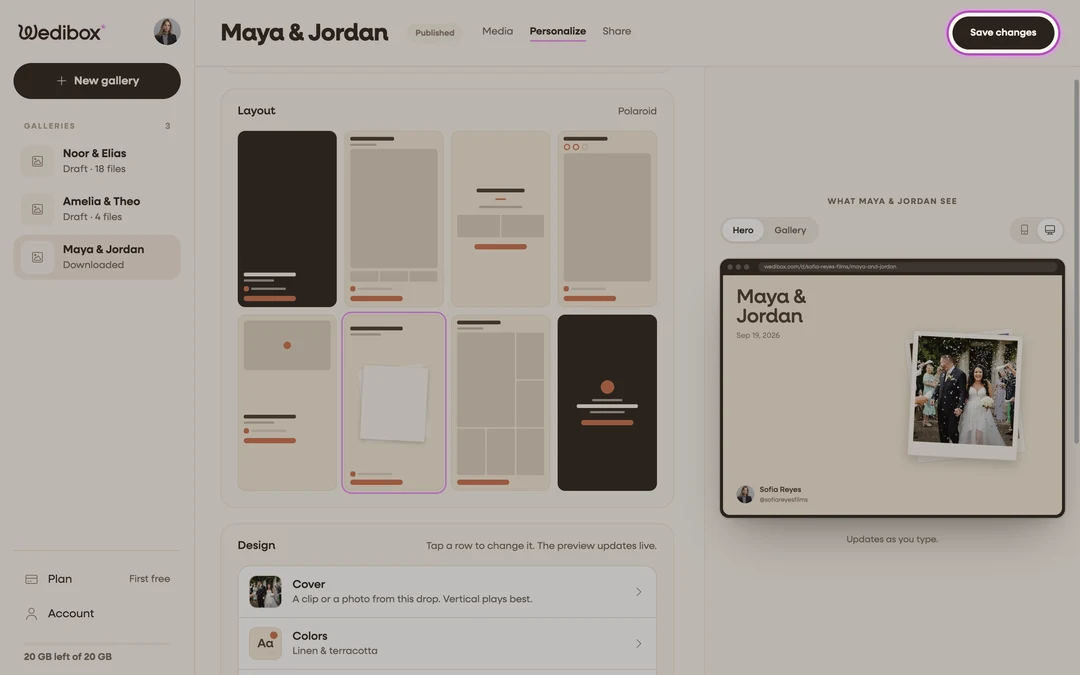
Click Save changes. The button is at the top right of the page. The toast “Details saved” confirms it, and the header reads Saved.


What you should see
Toggle the preview between Hero and Gallery, and between Phone and Desktop, to see both ends of the page. The desktop frame shows the drop’s address in its bar. Once published, the couple sees exactly this opening, then the sticky bar with your albums and the grid.
If something goes wrong
- Save changes stays grey. The Gallery title is empty, or nothing changed yet.
- Cover is greyed out. No file has a preview yet. Wait for “Preparing preview” to clear on at least one tile.
- “This gallery uses colors saved before palettes. Pick one to switch.” The drop predates the palette picker. Choose any palette and save.