How to claim a custom wedding website link
Wedding websiteWedding plan and up
Every event gets a working link automatically, but a custom one, like
wedibox.com/w/jessica-and-mark-forever, is easier to say out loud, nicer on an
invitation, and instantly recognizable as yours. Claiming one takes about a minute,
and anything you already printed or shared keeps working.
Plan: Wedding plan and up · Where: Overview → Your one code card → edit (pen) icon
Before you start
- Custom links are reserved on paid plans. On the Free plan you can still open the window and check availability; reserving will take you to the upgrade options.
- Have a couple of name combinations in mind (“jessica-and-mark”, “the-riveras”) in case your first choice is taken.
Steps
-
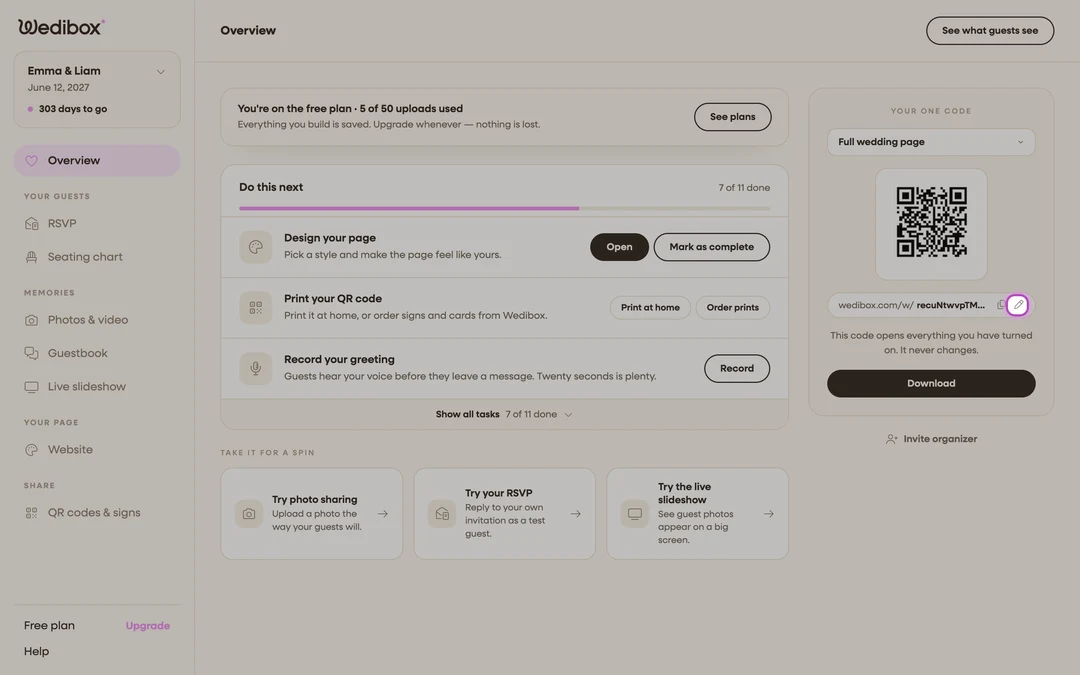
Open your Overview. In the sidebar, click Overview. Your link and QR code live in the Your one code card on the right.
-
Make sure the card is set to “Full wedding page.” The dropdown at the top of the card decides which address you’re looking at; the edit icon only appears for the full page link.
-
Click the pen icon next to your link. The Create Custom Link window opens (or Edit Custom Link if you’ve claimed one before).
-
Type your path under “URL path.” The field sits after
wedibox.com/w/; try something likejessica-and-mark. Only lowercase letters, numbers, and dashes survive; the field cleans up anything else as you type.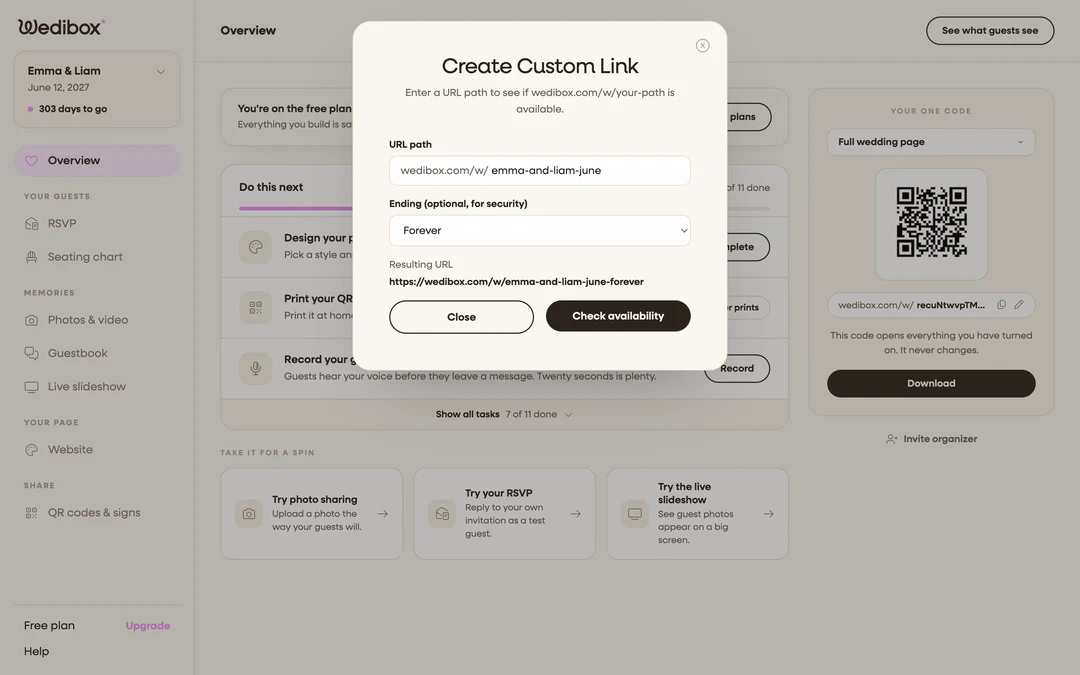
-
Pick an ending under “Ending (optional, for security).” The default is Forever; other options include 4 character lowercase code, City (you define), Event month (spelt out)–year, Full date, I do, Hitched, or None. An ending makes your page harder for strangers to guess, and often frees up a name that’s taken on its own.
-
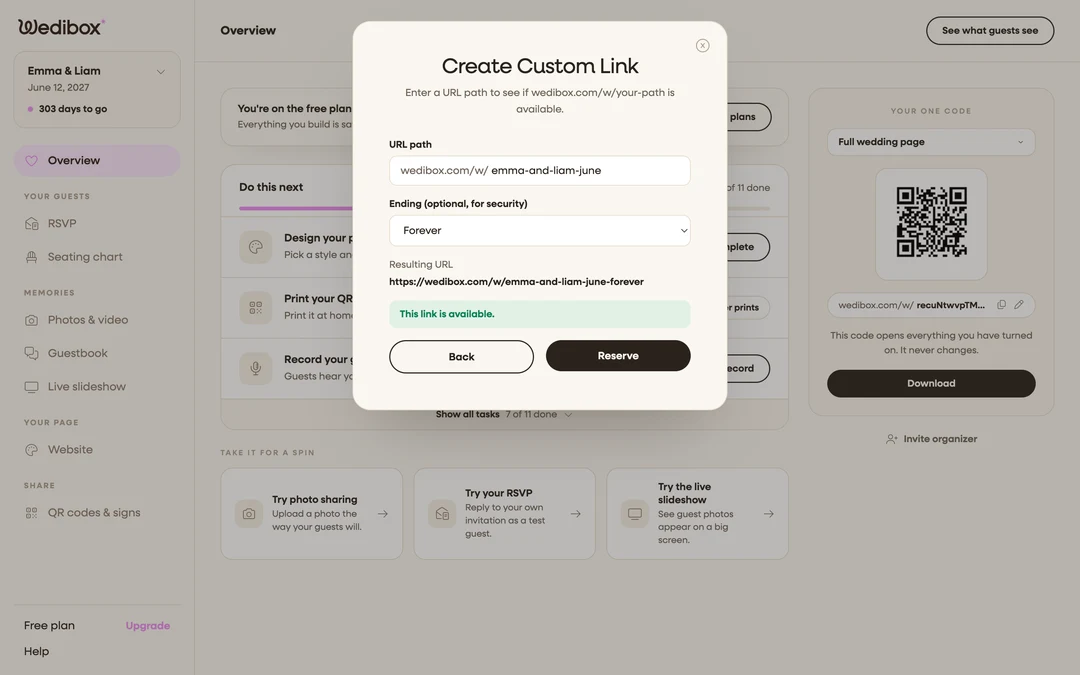
Click “Check availability.” The Resulting URL line shows exactly what you’re checking. You’ll get “This link is available.” or “This link is already taken.”; if it’s taken, tweak the path or switch endings and check again.
-
Click “Reserve.” A “Custom link reserved.” confirmation appears, and the card now shows your new address. On the Free plan this step opens the plan options instead; reserve after upgrading.

What you should see
Your Overview and the Website editor now show the new link everywhere, and your QR code points at it. Your old auto-generated address keeps redirecting to the new one, so invitations, QR prints, and messages you already sent still land on your page.
If something goes wrong
- Everything you try is taken. Keep the path and change the ending; the 4 character lowercase code ending is effectively always available.
- You clicked Reserve and got the plans screen. Your event is on the Free plan. Upgrade, then reserve; your checked path isn’t held in the meantime.