How to customize your print design
QR codes & printsWedding plan and up
Every print design is a template until you make it yours: your names, your date, your QR code rendered into the artwork. The customize step is deliberately short (a few text lines and a generate button) because the important part is the proof that comes back. Nothing is printed until you’ve seen it and approved it.
Plan: Wedding plan and up · Where: Sidebar → Share → QR codes & signs → any design
Before you start
- Decide your wording. Most designs carry up to three text lines: names, date, and a short line like “Share your photos with us.”
- Check spelling now, not at the proof step. The proof shows your text exactly as typed.
Steps
-
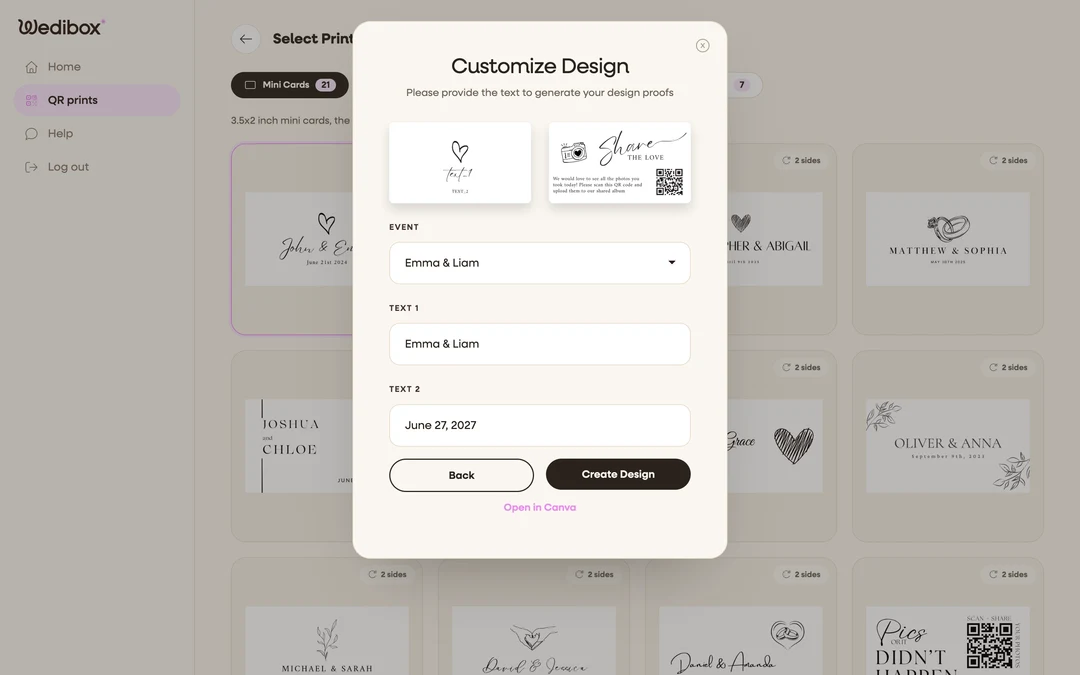
Open a design. From the Select Prints page, click the design you want. The popup opens on the Customize Design step. Your event’s Overview also shows a few ready-made samples under “Sample designs with your code”. Clicking one starts from there with the design already generated.
-
Fill the text lines. Choose your event under Event, then complete Text 1, Text 2, and Text 3. Designs only show the lines they actually use, so you may see fewer than three.
-
Click “Create Design”. Wedibox renders your text and QR code into the template and returns a proof. This takes a few seconds.
-
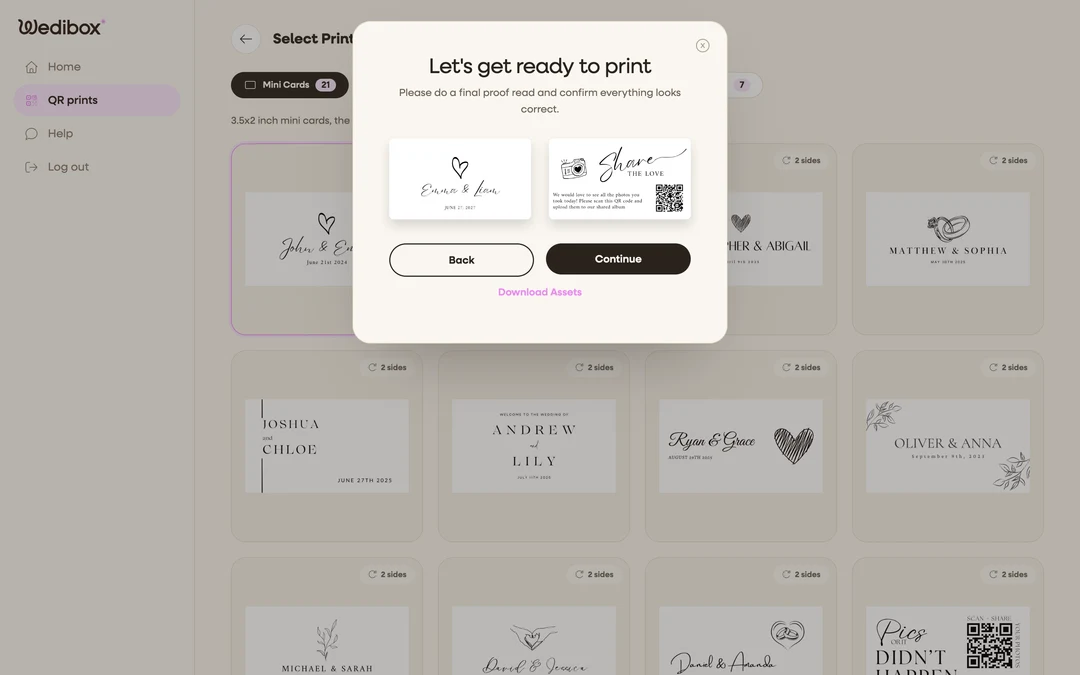
Review the proof, front and back. Two-sided designs show both sides next to each other. Zoom in mentally on the details: names spelled right, date correct, nothing awkwardly cut off.
-
Loop until it’s right. Not happy? Use the arrow in the top-left of the window to go back, edit the text, and click Create Design again. Regenerating is free and instant. Repeat as many times as you need. This edit-and-regenerate loop is the whole point of proofs.
-
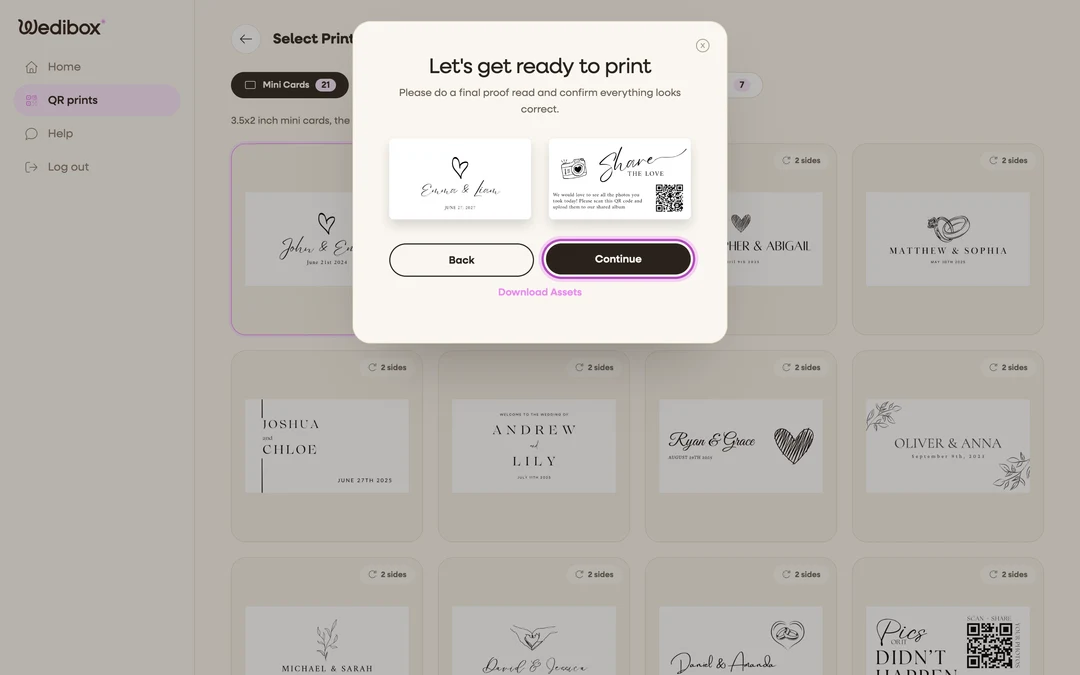
Approve. Click Continue to accept the proofs and move on to quantity and checkout. If you’re finishing a design for an order that’s waiting (it shows Requires Action under Orders), the same flow runs with Generate Preview and an Approve Designs button, and asks you to “do a final proof read and confirm everything looks correct.”
-
Optional: edit in Canva. Designs with a Canva version show an Open in Canva button. Click it to open the template in Canva and change fonts, colors, or layout freely. Some designs are Canva-only and skip the in-app text step entirely.
What you should see
Approved proofs that match what will come out of the printer, and the order flow ready for quantity and shipping. Whatever you approved is what ships: Wedibox prints the proof, not the template.
If something goes wrong
- The generated design looks empty where text should be: a required line was left blank. Go back with the arrow in the top-left, fill every field the design shows, and regenerate.
- Your names are too long for the design: try a shorter form (“Sam & Alex” instead of full names), or pick a design with a roomier layout.
- You approved, then spotted an error: if the order still shows Requires Action, redo the setup from Orders. Otherwise contact support through Help immediately.