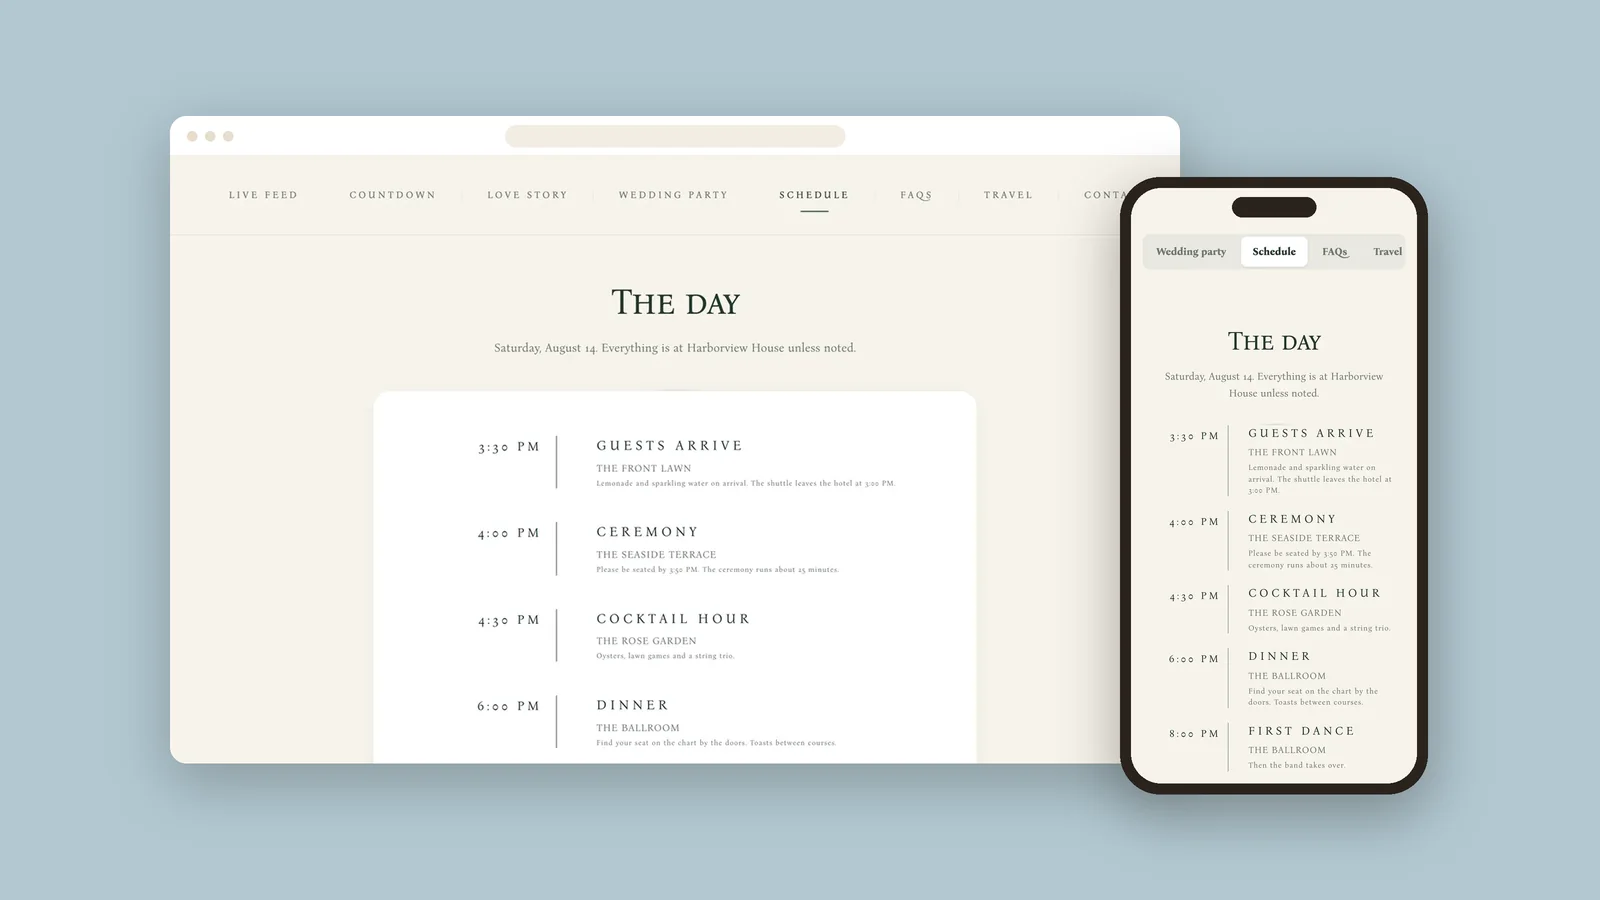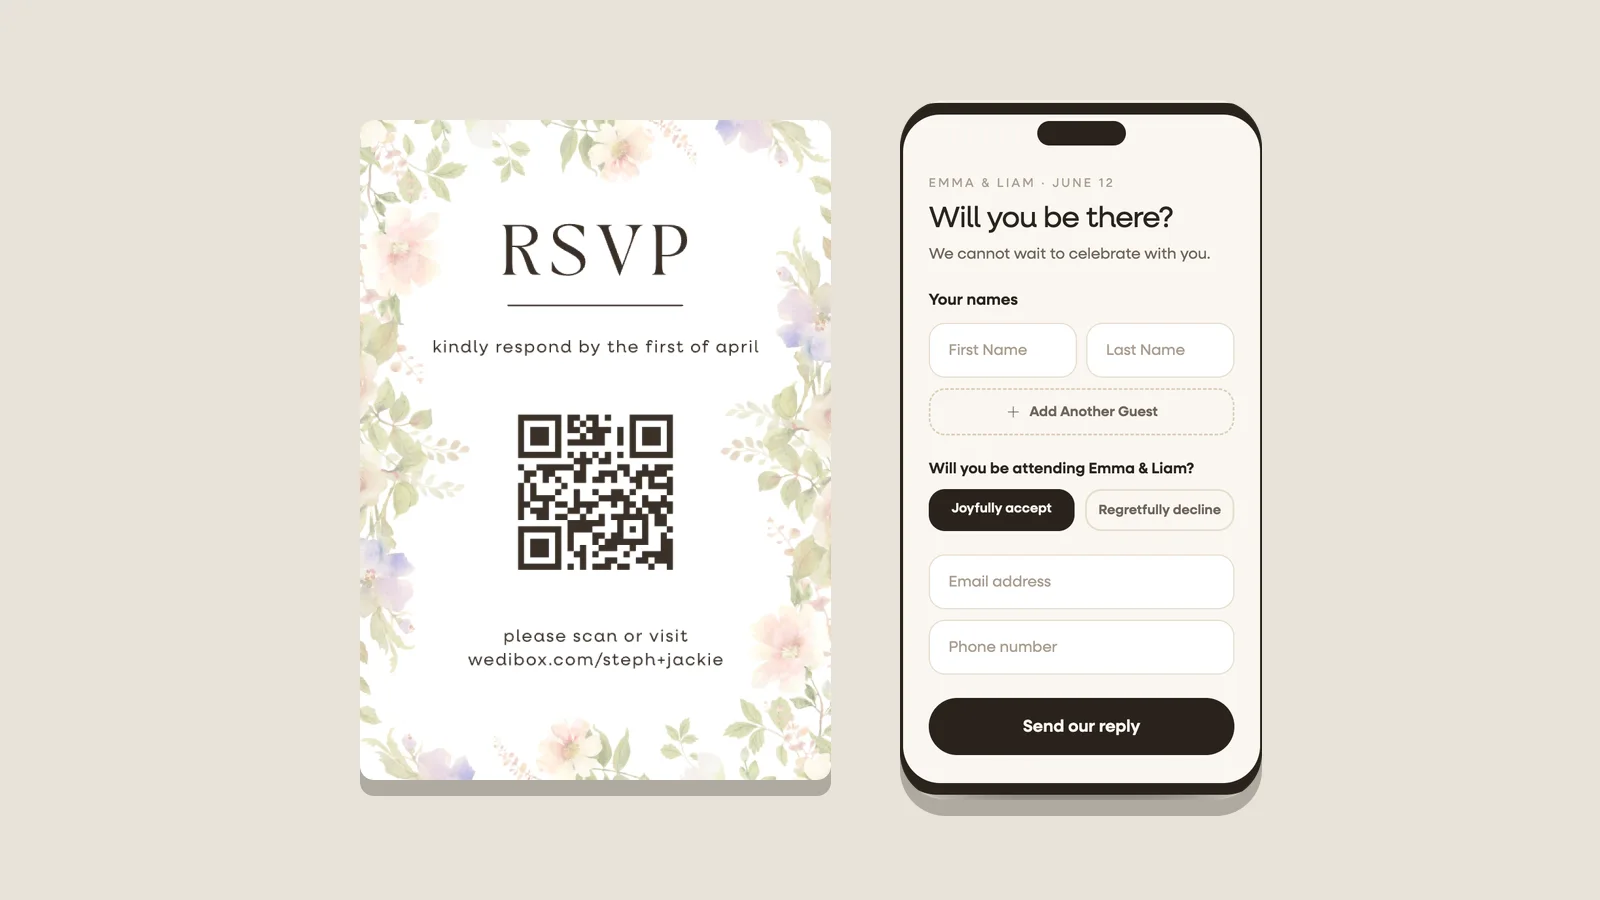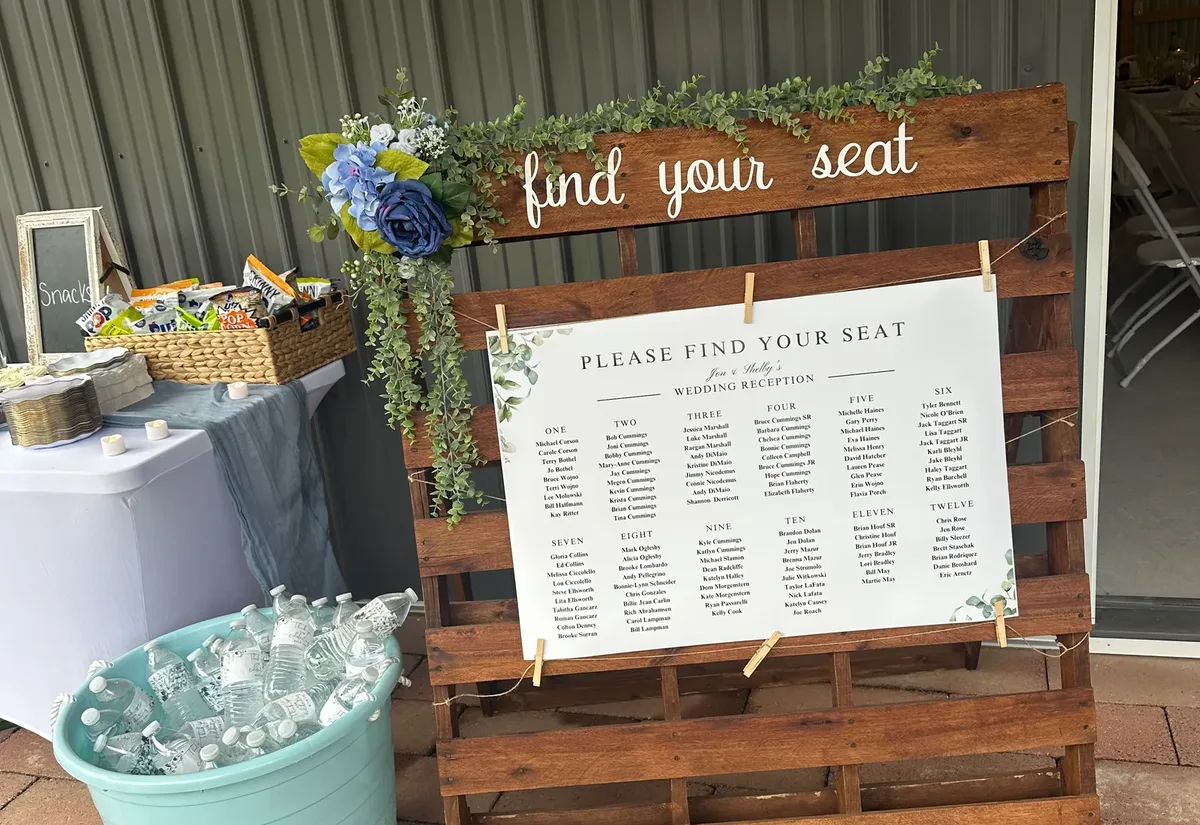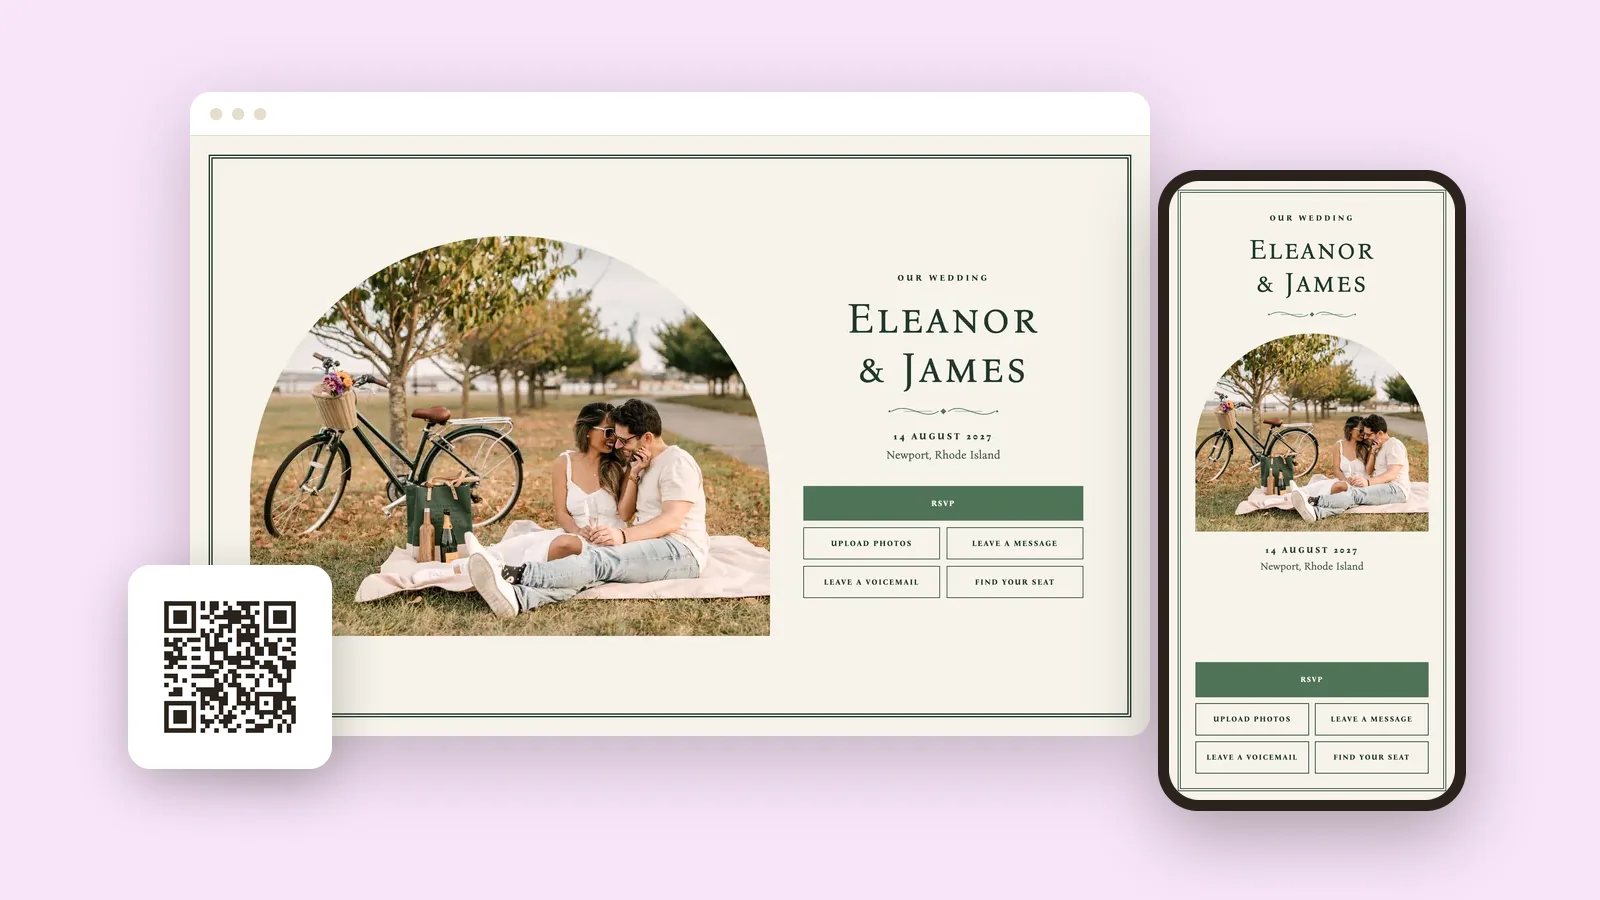
You can make a wedding website for free in six steps. Pick a design, add your names and a photo, set your colors, add the pages your guests need, get your link and QR code, and share it. Ten minutes is enough for a first version. This guide shows how to create a wedding website with Wedibox, using real screens from the editor. It also says plainly what free covers, before you start.
Wedibox gives you a free wedding website with a QR code. On the Free plan your guests see your cover, your love story, your schedule, your wedding party, travel details, FAQs, a countdown, and a contact for the day. They can also upload your first 50 photos. RSVP is the main thing that is not free. It comes with the All-In-One plan, which is $79 one time. More than 100,000 weddings have used Wedibox, and our advice from them is short. Start small, share early, and add the rest later.
What you need to create a wedding website
You need four things: your two names, your wedding date, your city or venue, and one photo of the two of you. You do not need a domain, a designer, or a finished guest list. A wedding website is not printed, so every part of it can change after you share it.
Three things are nice to have and can wait: the hex codes for your invitation colors, rough times for the day, and your hotel block link.
How to make a free wedding website, step by step
Here is how to make a wedding website in Wedibox, in six steps. The order is much the same in any builder. Every step is on the Free plan, and you never enter a card. The same steps, click by click, are in the help guide on how to build your wedding website with Wedibox.
- Pick a design.
- Add your names, your date, and a photo.
- Set your colors and fonts.
- Add the pages your guests need.
- Get your link and your QR code.
- Share it with your guests.
Step 1. Pick a design
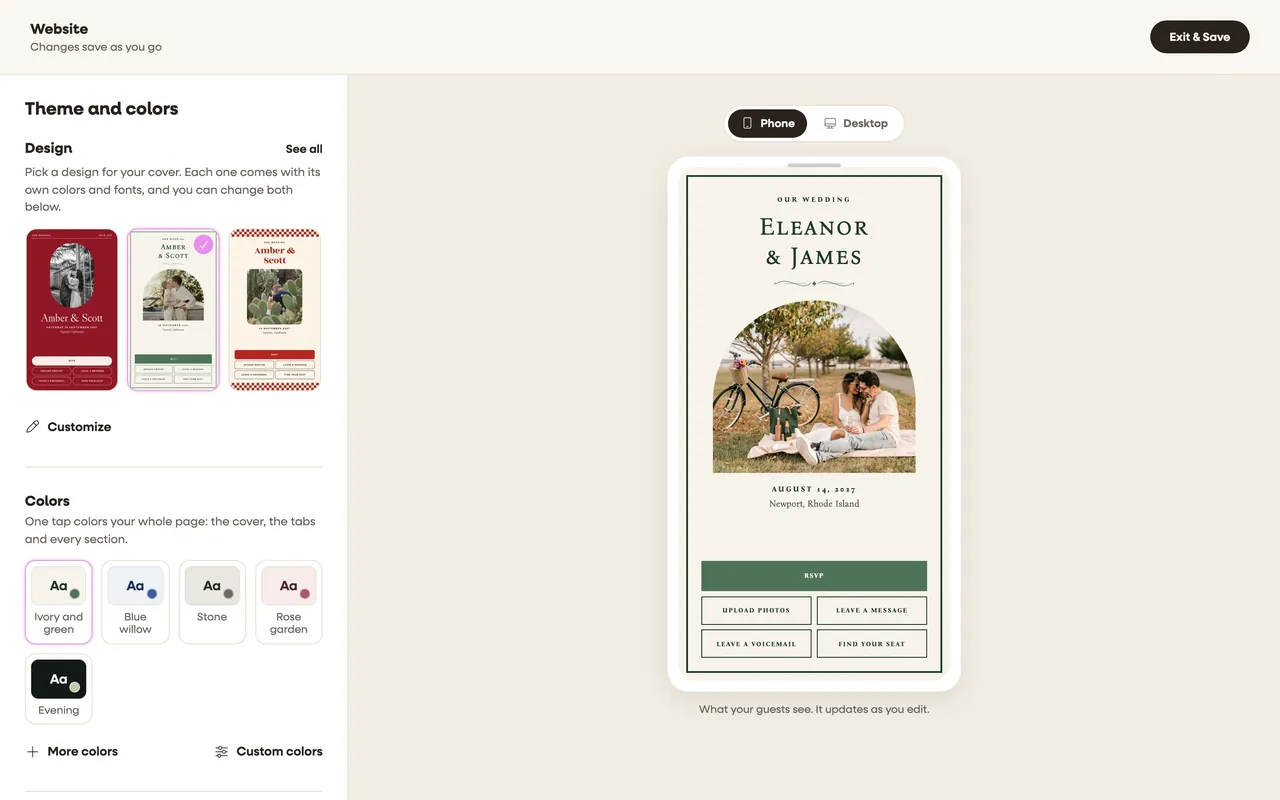
Start a new event in Wedibox. Type your two names and your wedding date. The date is optional. The next screen is a list of designs. Click one and a live preview draws it with your own names. There are 56 wedding website templates, and every one is free.
Choose the design that fits the photos you have. Some covers show one large photo, some show several, and a few show none. Then create your account with Google or with an email. Your page exists the moment your account does. You can switch designs later and keep everything you wrote. The help guide on how to choose a design for your wedding website shows each click.
Step 2. Add your names, your date, and a photo
Sign up ends with a short setup that asks for a cover photo. Upload one, or start with a sample photo and swap it later. Your names and your date are already on the cover from step 1.
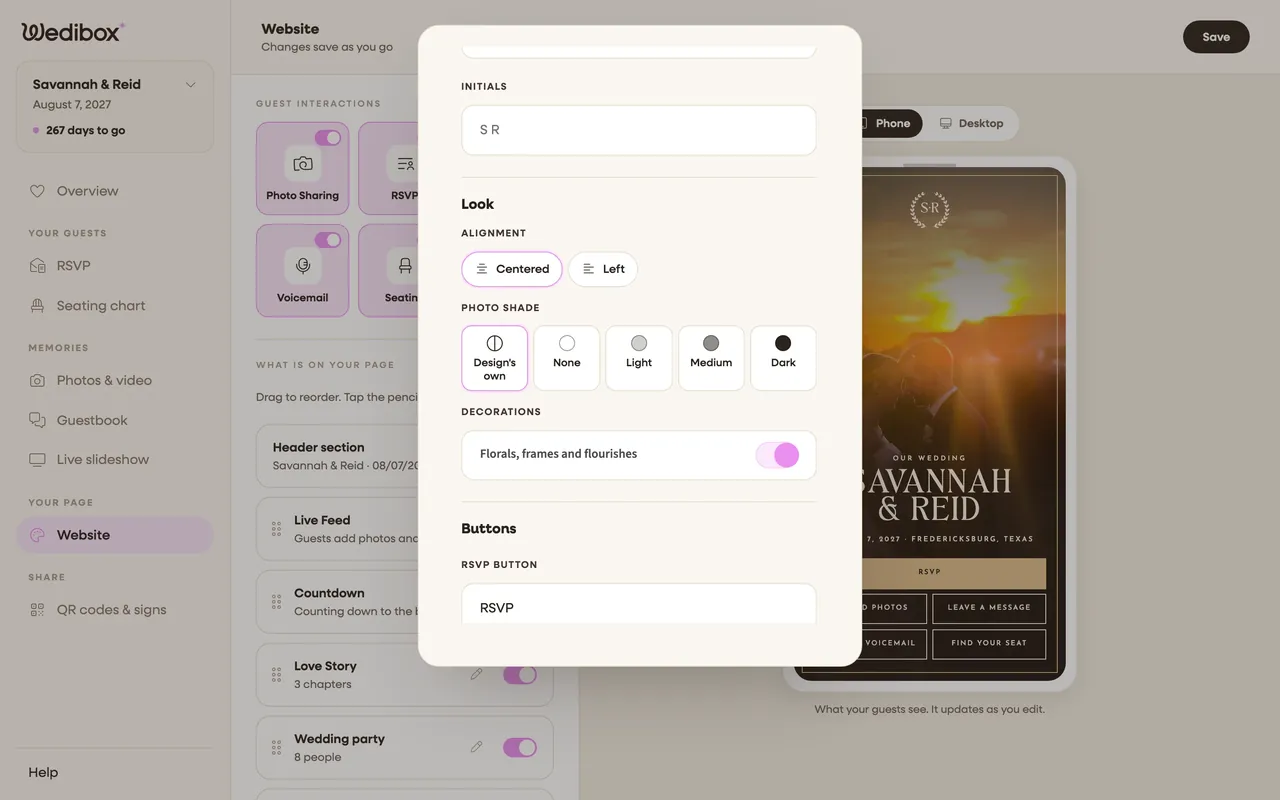
To fine tune the cover, open Website in the sidebar and click the Header section card. Here you set the small line above your names, your date line, and your location. On the newer designs you drag a dot on the photo to pick the part that stays in view. Some designs add initials, a shade over the photo, and a switch for the florals and frames. The full list is in the guide on how to customize your cover.
Step 3. Set your colors and fonts
In the Website editor, click Theme and colors. Each new design comes with five color palettes of its own. One click recolors the whole page: the cover, the tabs, and every section. To match your invitations, open Custom colors and type your hex codes for the background, the text, and the buttons. If a mix would be hard to read, Wedibox warns you and offers a fix.
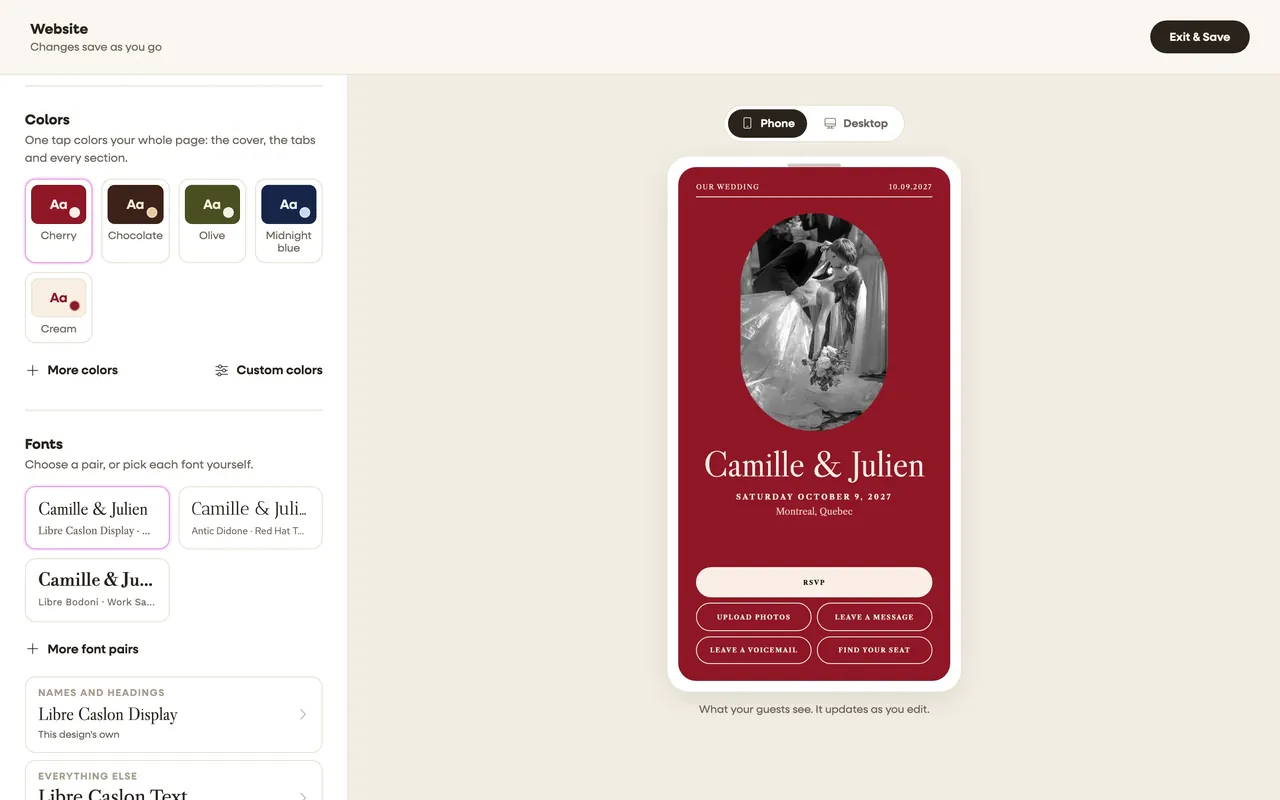
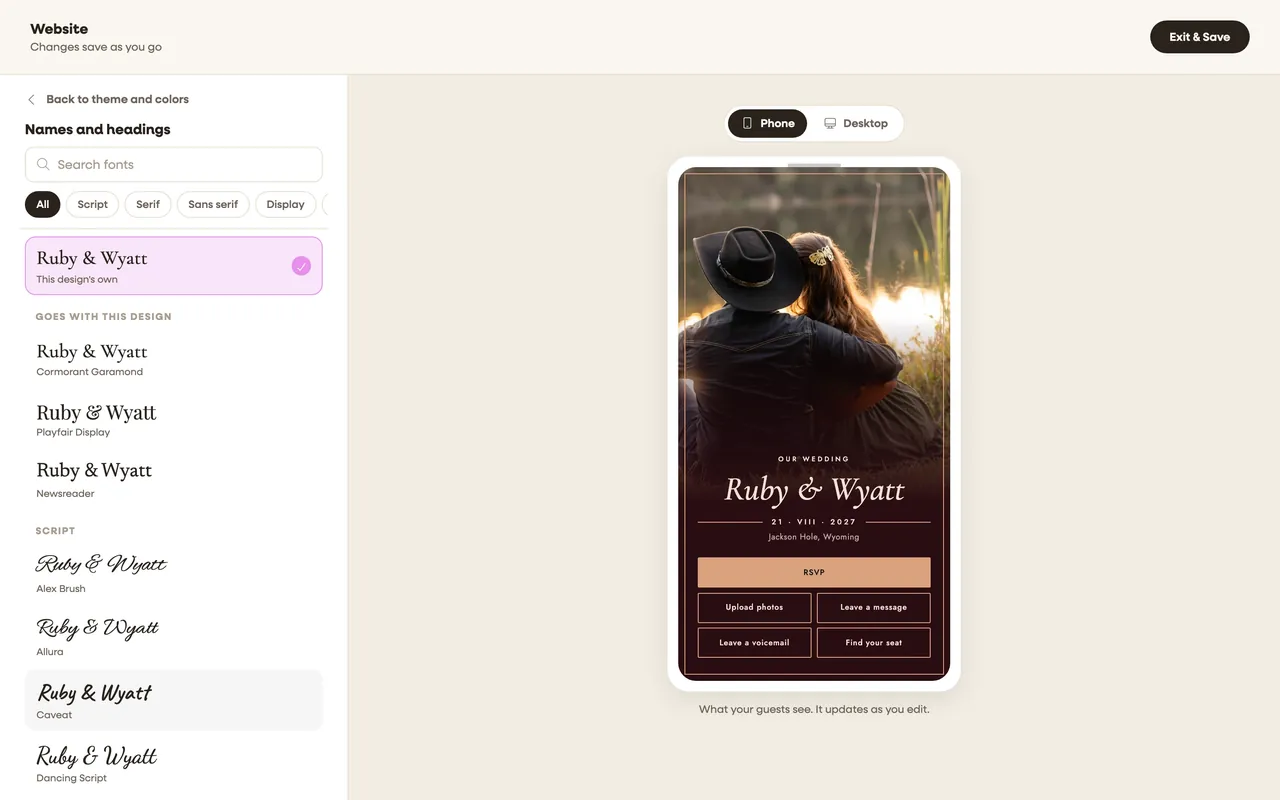
Fonts work the same way. Each new design offers three font pairs. The first font sets your names and your headings. The second sets everything else. You can also choose any single font from the full list. Search it, or filter it by script, serif, sans serif, and display. When you are done, click Exit & Save. The guide on how to change colors, fonts and the tab bar style covers text size too.
Step 4. Add the pages your guests need
Each section of your site is a tab that guests tap. In the Website editor, click Add a section and pick one. Start with the three that answer the most questions:
- Schedule. One item for each moment guests must show up for, with a time and a place. See how to add your wedding schedule.
- Travel. The nearest airport, parking, shuttles, and your hotels with the booking link and the block code. See how to add travel and hotel info for guests.
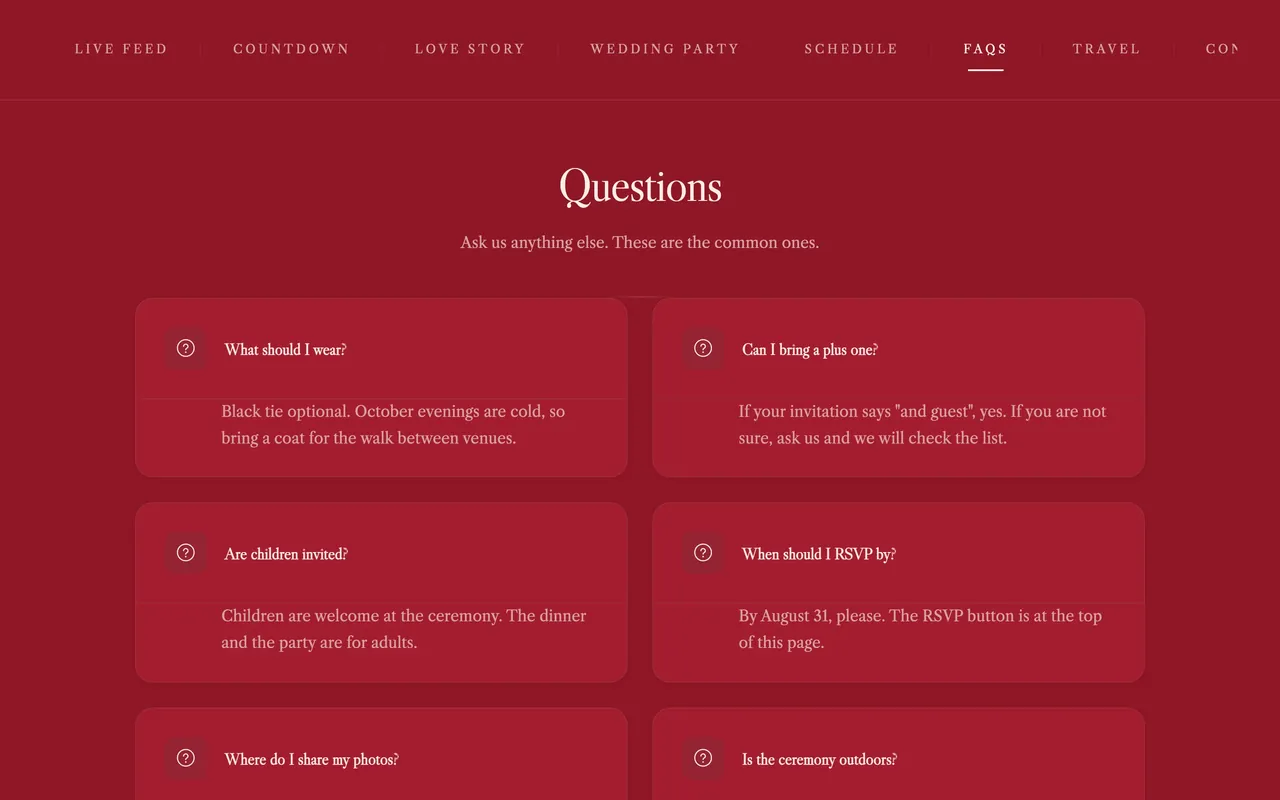
- FAQs. Dress code, plus ones, children, and parking. Five to eight questions cover most weddings. See how to add an FAQ section.
All three are free on Wedibox. So are your love story, your wedding party, a countdown, and a contact for the day. You can set up registry links and an RSVP form now as well, but guests see those only on the All-In-One plan. For the full list, and for what to leave off, read our guide on what to put on a wedding website.
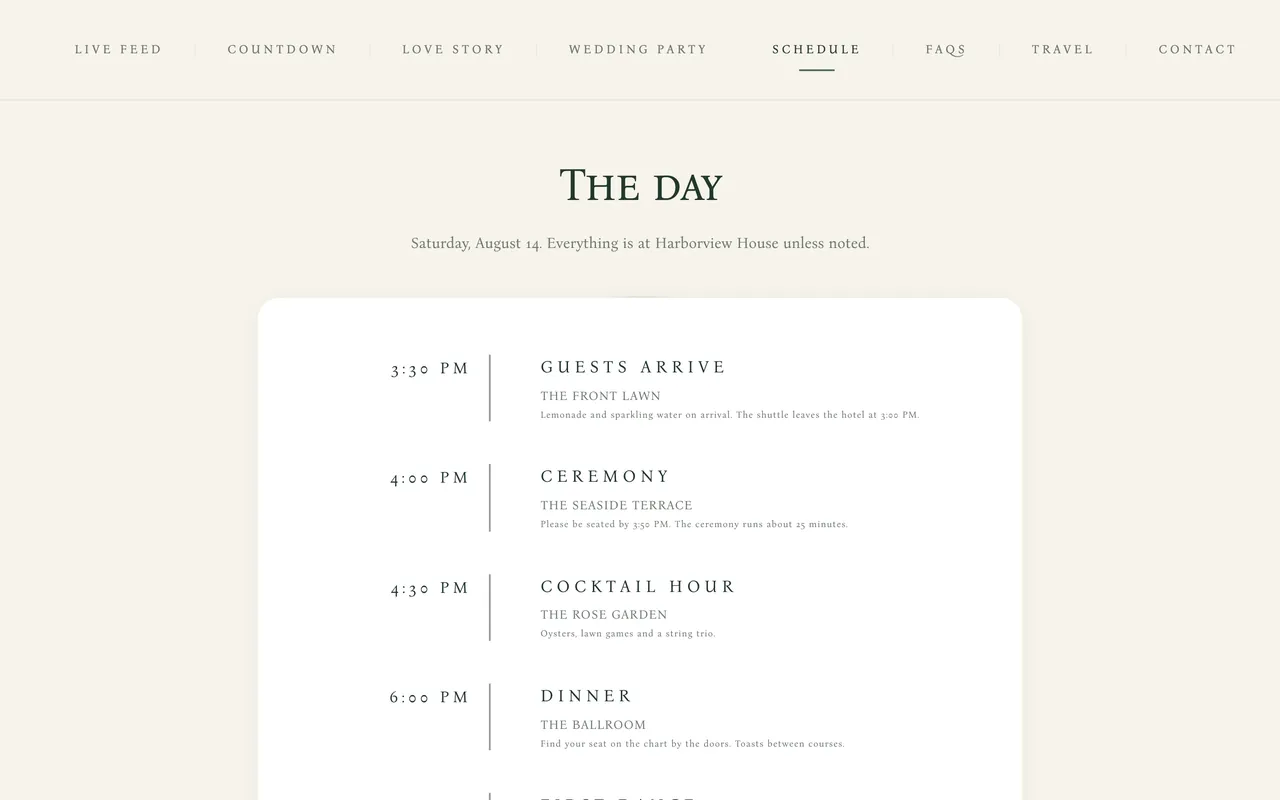
Drag the cards to change the order of your tabs. Click the pencil to rename one, so Schedule can become The Weekend. If you want replies online, our guide to making a QR code for wedding RSVP walks through that form.
Step 5. Get your link and your QR code
You do not make the code yourself. Wedibox makes a link and a QR code the moment your page exists. Open Overview in the sidebar and find the card named Your one code. Leave the dropdown on Full wedding page. The copy icon copies your link. Download saves the code as an image, and you can set its colors or make the background clear first.
The code never changes. You can print it today and keep editing your site until the wedding. Your free link is a Wedibox address that ends in a random code. A custom link, such as wedibox.com/w/your-names, comes with the Wedding plan at $49 one time.
Is your site on another platform? Paste its link into the free wedding QR code generator. It needs no sign up, and the code never expires.
Step 6. Share it with your guests
There is no publish button. Your page is live at its link from the first day, and only people who have the link or the code can open it. Before you share, click See what guests see on your Overview and read the page on your own phone. Then send the link by text or email, and print the code on paper. The guide on how to publish your wedding website and share it has the full list.
That is how to build a wedding website from start to finish. To see every section and every plan side by side, visit the free wedding website with a QR code page.
What free really covers
Free means different things on different builders, so check before you start. On Wedibox the website itself is free, with no time limit and no card. What costs money is a set of guest tools. The two paid plans are $49 and $79, each paid one time, not a subscription.
| What guests get | Free | Wedding, $49 one time | All-In-One, $79 one time |
|---|---|---|---|
| Your cover, design, colors, and fonts | Yes | Yes | Yes |
| Love story, schedule, wedding party, travel, FAQs, countdown, and contact | Yes | Yes | Yes |
| QR code and share link | Yes | Yes | Yes |
| Your web address | A Wedibox link that ends in a random code | A custom link, wedibox.com/w/your-names | A custom link, wedibox.com/w/your-names |
| Guest photo uploads | First 50 | Unlimited | Unlimited |
| Guestbook messages, voicemails, and the live slideshow | No | Yes | Yes |
| RSVP and the seating chart | No | No | Yes |
| Registry links and the playlist | No | No | Yes |
A Wedibox page carries no outside ads on any plan. One small line under the photo gallery reads Powered by Wedibox, on every plan. You can set up every paid section on the Free plan and turn it on later. The help guide on which website sections come with which plan lists them all.
Whichever builder you choose, ask these three questions first:
- Is the address yours? Wix says in its own guide that a free site is published at an address like yourname.wixsite.com/yoursite, and that a paid plan connects your own domain. On Wedibox the free link ends in a random code, and a custom link is paid. Guests tap a link or scan a code, so a long address matters less than it once did.
- Are there ads? The same Wix guide says a free site shows Wix ads until you upgrade. It also lists 500 MB of storage and up to 4 forms. Ask what a guest will see on your page, and what the limits are.
- Is RSVP included? Some builders include it. Zola says its free wedding websites collect online RSVPs. Wedibox does not include RSVP on the Free plan. If free RSVP matters most to you, choose a builder that has it, or plan for the $79.
When to make your wedding website
Make your wedding website before your save the dates go out, and finish it by the time your invitations go out. The Emily Post Institute gives the same order in its wedding website tips: have the site up before the save the dates if you can, and ready before the invitations.
Your names, your date, and your city are enough for a save the date. Add the schedule, the travel details, and the FAQs as they firm up. Guests see each edit at once and the QR code stays the same, so nothing has to be printed again. For a fuller timeline, see when each part should be ready.
Where to put your wedding website QR code
Put the code on paper that reaches guests before the wedding, and again where they will stand on the day. The code opens your whole site, so one code works in every spot.
- The save the date. A code here opens your site while they are still booking flights and rooms.
- Inside the invitation envelope. Print the code on a details card or on the reply card. The Emily Post Institute advises keeping the web address off the invitation itself and using an enclosure.
- Texts and digital invitations. Paste the link, not the code. A guest cannot scan the phone they are holding.
- At the wedding. Use a welcome sign and a small card on each table. On the day, the same code is how guests add their photos. The printable QR code designs come with your code built in.
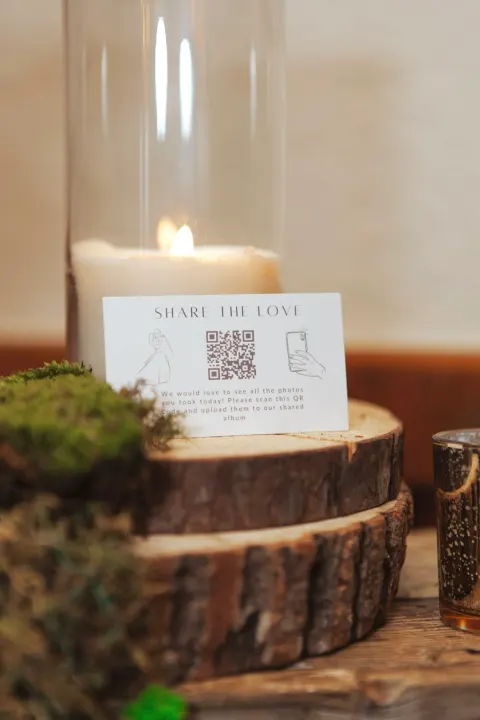
Print the code at least 1 inch square. Matte paper scans better than glossy paper. Print one test copy and scan it with your own phone before the full run. The guide on how to print your QR code yourself has the sizes for cards and signs.